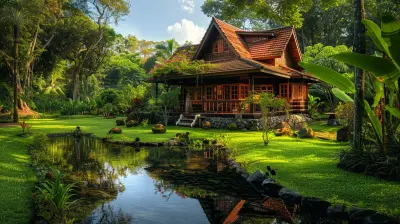
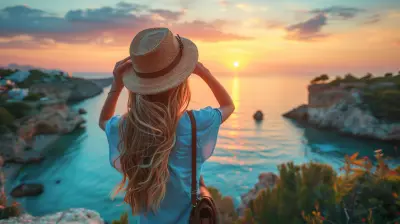
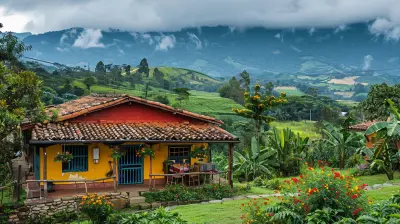
Capturing the Colors of Exotic Locations with the Right Filters
23 August 2026
Ever taken a photo of a breathtaking sunset, only to look at it later and wonder why it turned out dull and lifeless? Yeah, we’ve all been there. The human eye is an absolute masterpiece, picking up vibrant colors and subtle variations that cameras just can’t match—unless, of course, you’ve got the right filters.
Filters are like magic spells for your camera, transforming flat, bland images into stunning works of art. Whether you’re snapping shots of turquoise waters in the Maldives or the fiery red dunes of the Sahara, using the right filters can elevate your travel photography to jaw-dropping levels.
So, grab your camera, dust off your lens, and let’s dive into the colorful world of photography filters! 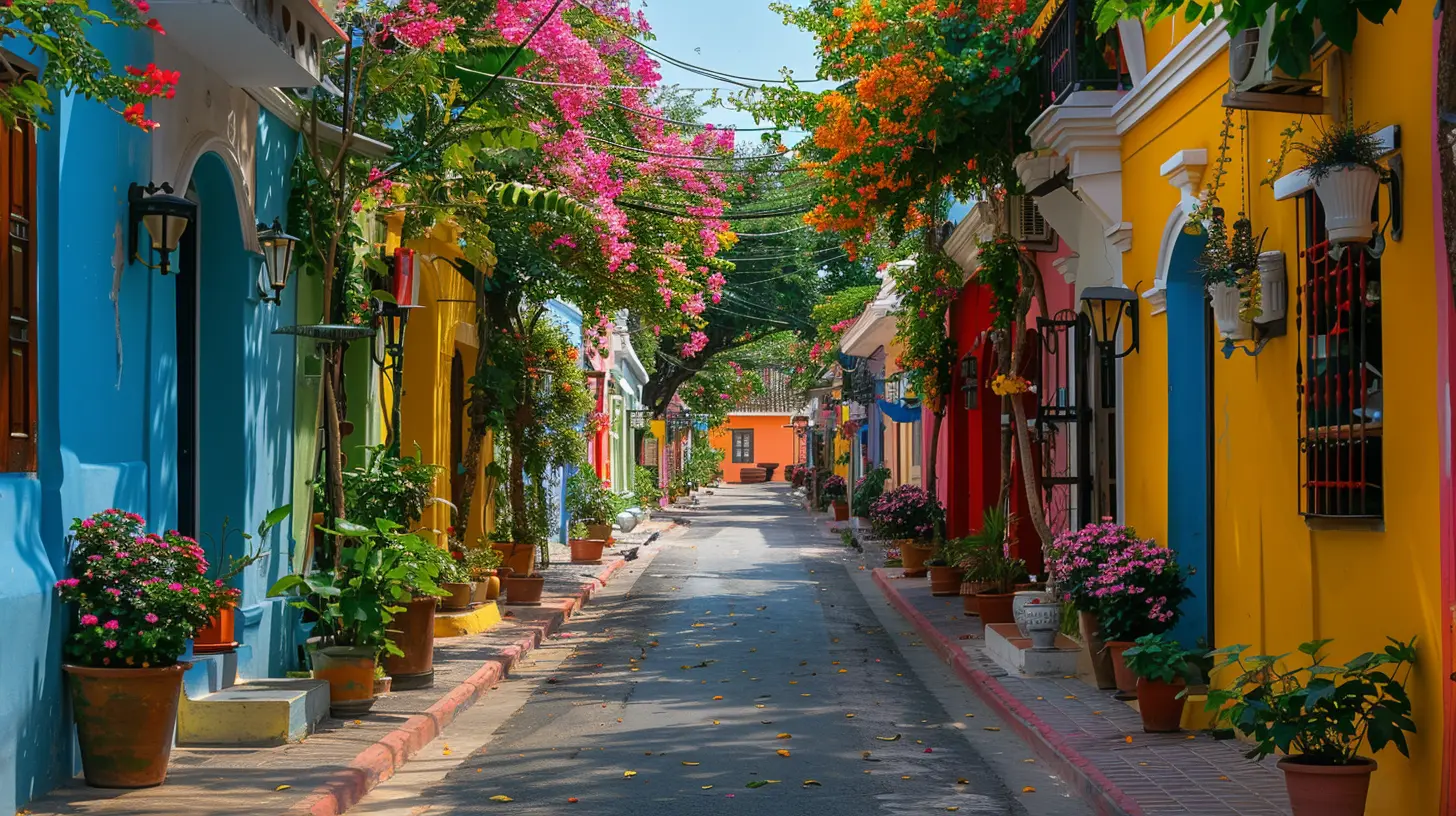
Why Filters Matter in Travel Photography
Cameras are incredible, but let’s be honest—they sometimes fail us. They don’t see what we see, often misinterpreting colors, messing up the lighting, or failing to capture the real essence of a place.Filters help bridge that gap, giving you more control over exposure, contrast, and saturation. Think of them as Instagram filters in real life (but way better).
If you’ve ever been disappointed by washed-out blues, overexposed skies, or weird reflections on water, filters might just become your new best friend. 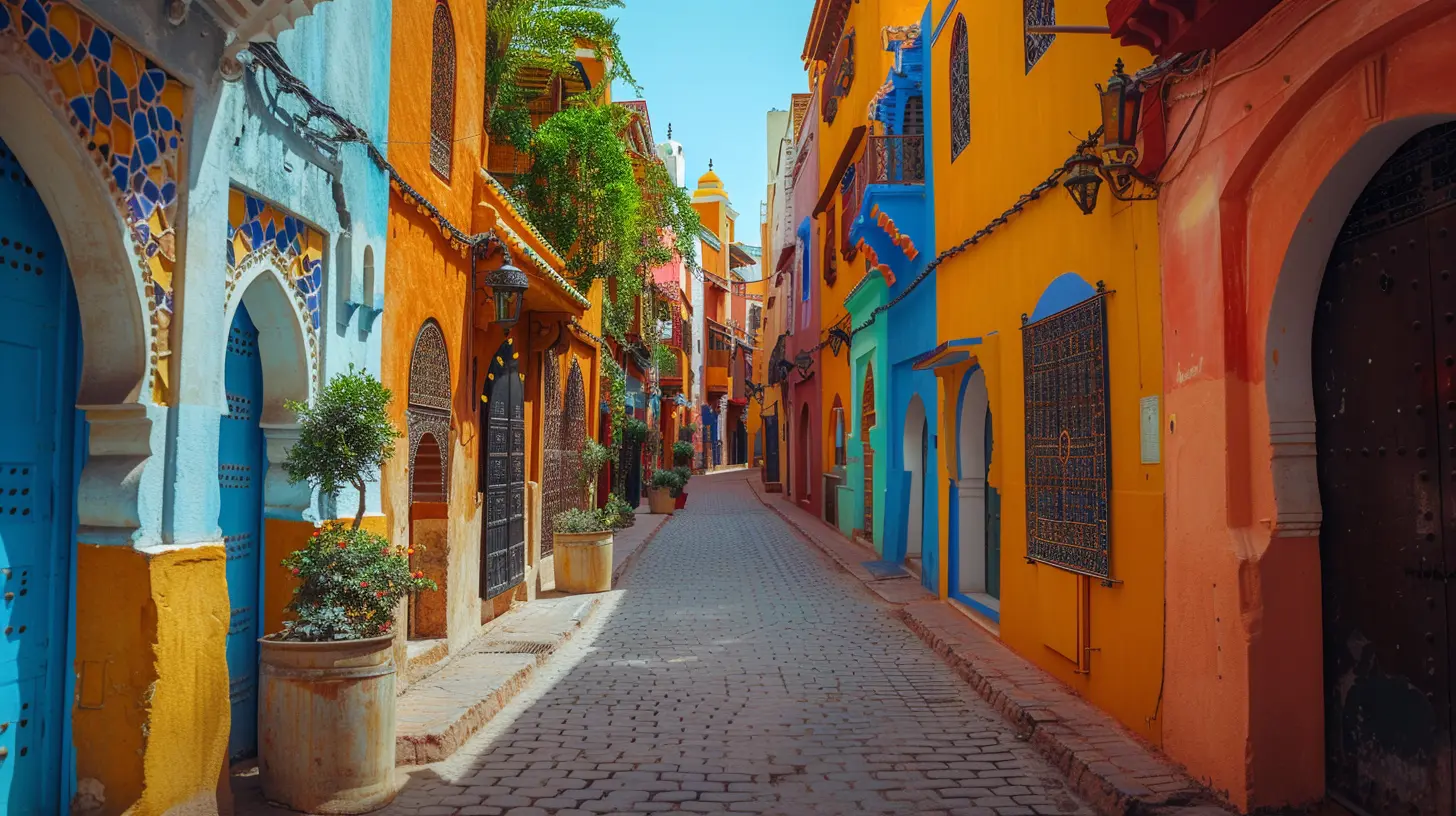
The Must-Have Filters for Capturing Exotic Locations
1. Polarizing Filters – Your Best Friend for Vibrant Skies and Water
Ever noticed how professional travel shots have impossibly blue skies and deep, rich colors? That’s not just the photographer’s skill—it’s the magic of a polarizing filter.What does it do?
- Enhances the blues in the sky, making them pop.- Reduces glare from reflective surfaces like water and glass.
- Boosts overall color saturation, making everything look more vibrant.
When to use it?
- Shooting beach scenes, lakes, or rivers.- Capturing landscapes with a lot of sky.
- Eliminating unwanted reflections in street photography.
> Pro Tip: Rotate your polarizing filter while looking through the viewfinder to see the effect change in real time.
2. Neutral Density (ND) Filters – The Key to Dreamy Motion Effects
Have you ever wondered how photographers create those silky-smooth waterfalls or hazy waves crashing onto shore? That’s the magic of an ND filter.What does it do?
- Reduces the amount of light entering your lens, allowing for longer exposure times.- Creates soft, dreamy effects on moving objects like water and clouds.
- Helps in bright conditions where slower shutter speeds are needed.
When to use it?
- Capturing waterfalls and rivers.- Getting that dreamy ocean-mist effect.
- Shooting during bright daylight when you want to slow down the shutter speed.
> Pro Tip: If you’re going for a long exposure shot, stabilize your camera on a tripod—unless you like the unintended ‘earthquake’ effect.
3. Graduated ND Filters – Fixing the Sky’s Mood Swings
Sometimes, the sky just doesn’t cooperate. Either it's too bright compared to the rest of the scene, or it looks washed out. That’s when a graduated ND filter comes to the rescue.What does it do?
- Darkens the sky while keeping the foreground properly exposed.- Helps balance exposure in high-contrast scenes.
When to use it?
- During sunrises and sunsets.- When shooting landscapes with a vast sky.
> Pro Tip: There are soft and hard-edge graduated ND filters—soft for gradual transitions and hard-edge for sharp horizon lines. Choose wisely!
4. Warming and Cooling Filters – Setting the Mood
Ever take a photo and realize the colors aren’t quite as warm or cool as you remember? Warming and cooling filters tweak the color temperature to better match the mood you're going for.What do they do?
- Warming filters add a golden glow to images, great for sunrise and sunset shots.- Cooling filters enhance blues and reduce warm tones, perfect for snowy landscapes or blue-hour photography.
When to use them?
- Shooting deserts and tropical beaches where you want warm, inviting tones.- Capturing icy landscapes where you want a crisp, cool effect.
> Pro Tip: If you shoot in RAW, you can adjust color temperature later, but using a filter helps get it right in-camera.
5. UV Filters – More Than Just Lens Protection
Some photographers swear by them, others say they're unnecessary, but UV filters do have their place in travel photography.What does it do?
- Reduces the hazy, bluish cast caused by ultraviolet light.- Protects your lens from dust, scratches, and accidental fingerprints.
When to use it?
- Shooting at high altitudes, like in the mountains.- When you want an extra layer of protection for your lens.
> Pro Tip: Avoid cheap UV filters—they can reduce image sharpness and cause unwanted glare. Invest in a good-quality one! 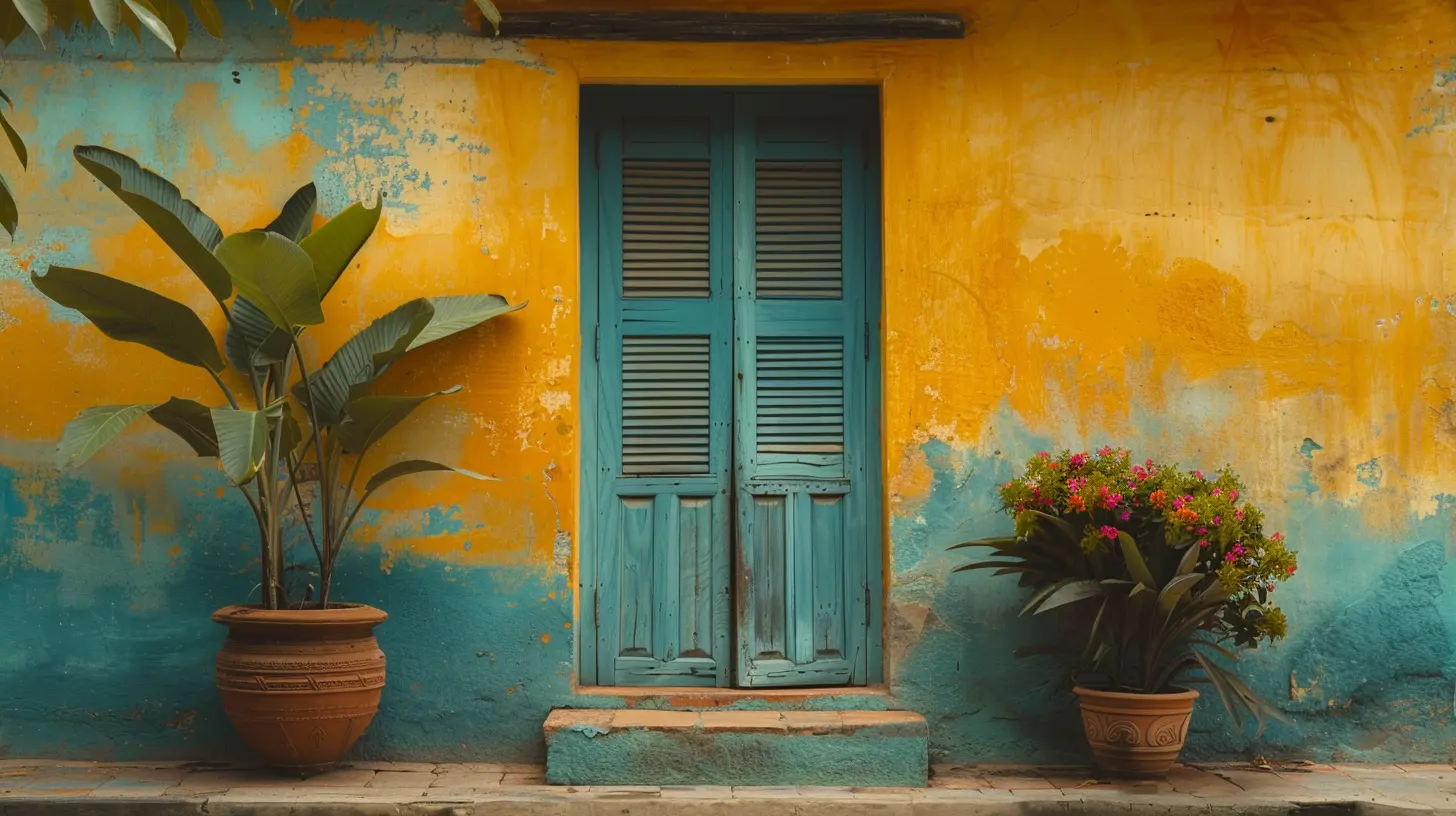
Choosing the Right Filter: Glass vs. Resin
Filters come in two primary materials—glass and resin.- Glass Filters: Offer superior optical quality but can be pricey and fragile.
- Resin Filters: More affordable and lightweight, but prone to scratches over time.
For serious photography, stick to high-quality glass filters. If you're on a budget, a good resin filter is better than nothing! 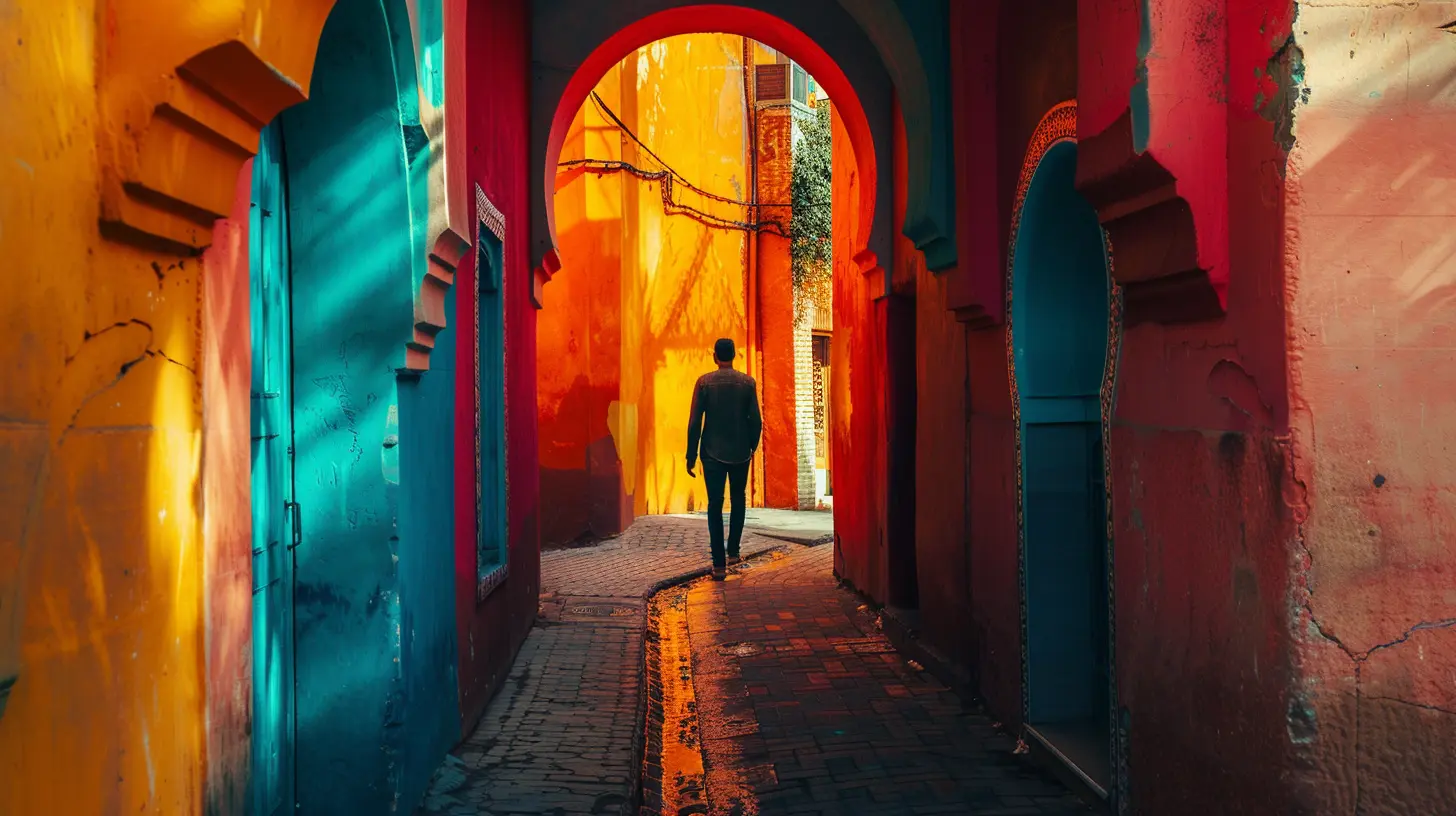
How to Use Filters Like a Pro
1. Stack Wisely – Yes, you can stack filters, but don’t overdo it! Too many filters can cause vignetting (dark corners in your photos).2. Keep Them Clean – A dirty filter is a useless filter. Always carry a microfiber cloth to wipe off dust and smudges.
3. Experiment with Angles – Especially with polarizers, rotating the filter at different angles gives you different results.
4. Check Before Shooting – Filters can darken your scene, so adjust your settings accordingly.
Final Thoughts
Filters might seem like small accessories, but they’re game-changers for travel photography. Whether you're chasing the sunset in Santorini, trekking through the Amazon, or marveling at the Northern Lights, the right filter can help you do justice to the stunning colors of your surroundings.So, before you head out on your next adventure, pack your filters and get ready to capture the world in all its vibrant glory!
all images in this post were generated using AI tools
Category:
Photography TipsAuthor:

Shane Monroe
Discussion
rate this article
1 comments
Octavia Jacobs
Filters enhance unforgettable moments.
September 19, 2026 at 4:21 AM
Shane Monroe
I completely agree! The right filters can truly elevate a moment and bring out the beauty of those vibrant locations.