Capturing the Perfect Sunset: A Traveler's Guide to Sunset Photography
19 March 2026
Who doesn’t love a good sunset? That magical moment when the sky puts on its own private show — dripping in shades of gold, orange, pink, and purple. As a traveler, sunset photography is one of those things you just can’t skip. It’s not just a photo; it’s a memory etched in color.
If you've ever tried taking a picture of a sunset and ended up with a bright blob in the sky or a washed-out selfie, don’t worry — you’re not alone. Capturing sunsets is an art, but it’s definitely one you can master with the right tips, tools, and a bit of patience. In this guide, I’m going to walk you through everything you need to know to get that perfect sunset shot while globetrotting.
Why Sunsets? Why Now?
Let’s be real — sunsets are free, they happen every day, and yet each one is uniquely beautiful. Talk about nature being your favorite influencer. Whether you're wandering through Bali, lost in the desert of Arizona, or just chilling by the beach in Greece, the sunset always hits differently.But here’s the thing — the perfect sunset photo isn’t just about pointing your camera at the sky. It’s about timing, composition, and a touch of creative madness.
So let’s break it down.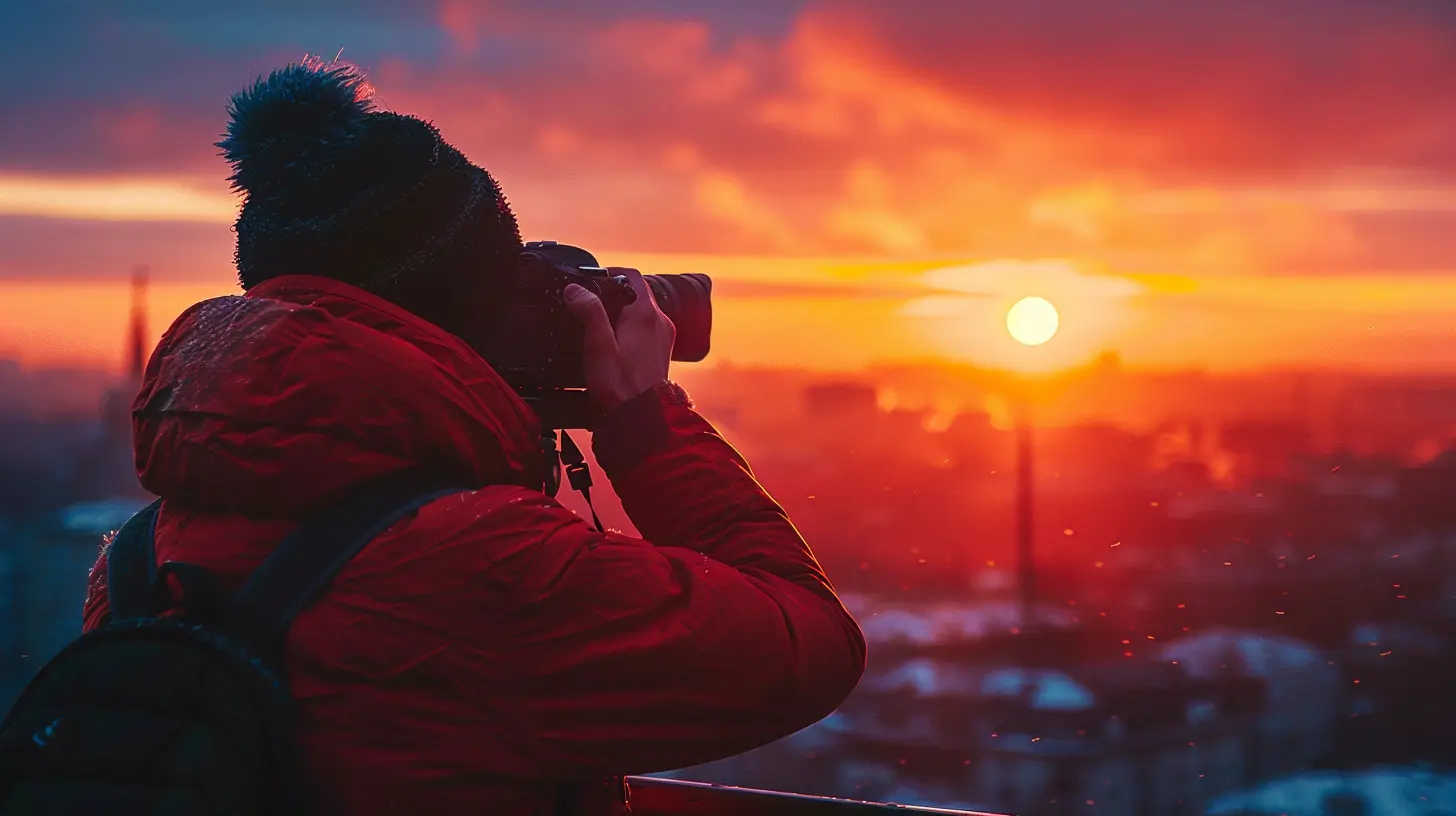
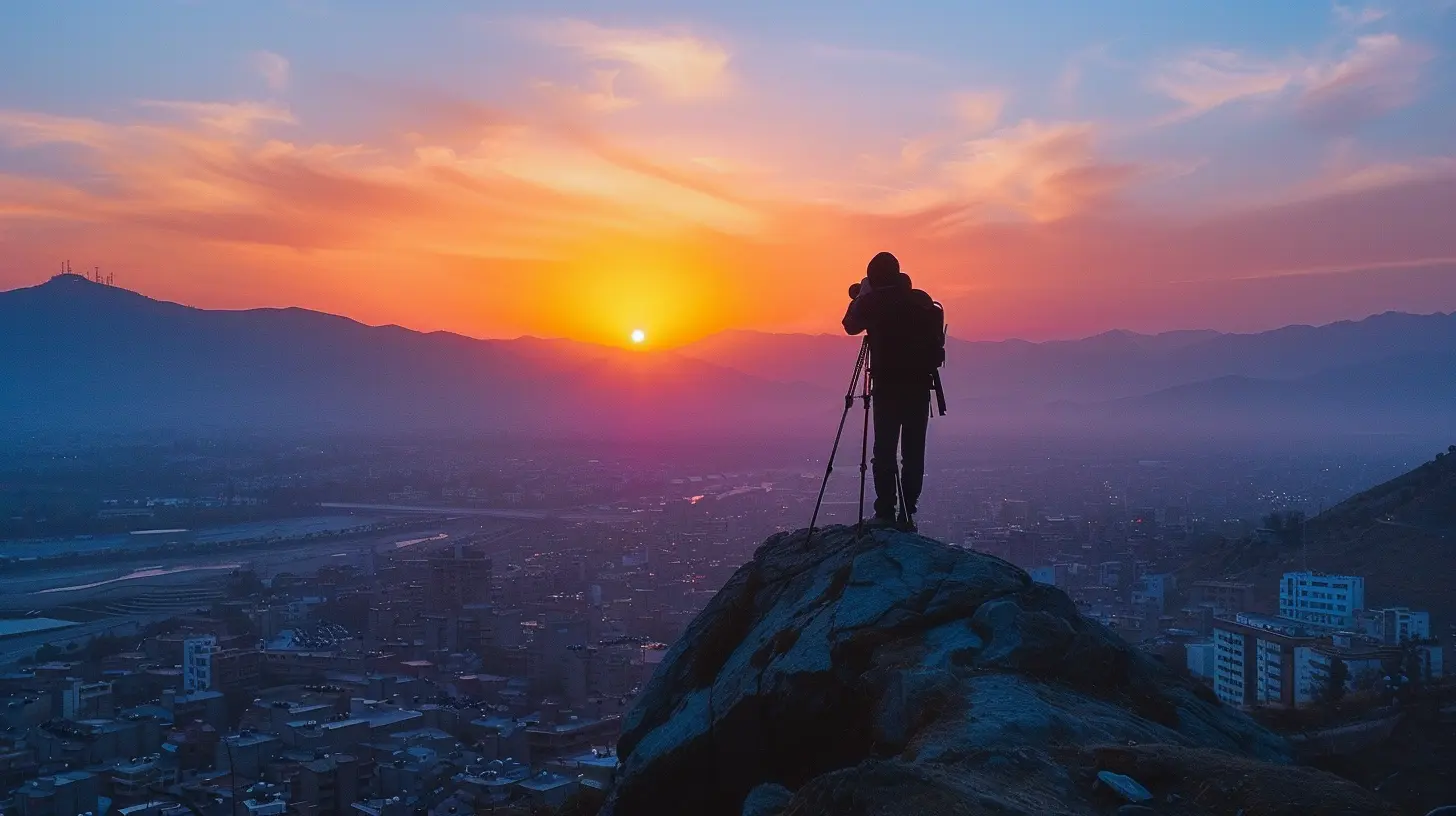
1. Timing Is Everything
First things first — you’ve got to be on time. Actually, you’ve got to be early.a) Know the Golden Hour
The golden hour is that dreamy window just before sunset (or after sunrise). The light is softer, warmer, and way less harsh than mid-day sunlight. It makes everything look good — kind of like a natural Instagram filter.There are apps like Golden Hour One or PhotoPills that can help you track exactly when the golden hour begins in your location.
b) Arrive Early and Stay Late
Get to your location at least 30–45 minutes before sunset. Set up, scout your surroundings, and get a feel for the angles. Some of the best shots actually happen after the sun dips below the horizon. That’s when you get those deep purples and fiery reds.
2. Gear Up: What You Need (and What You Don’t)
You don’t need to be carrying a suitcase full of camera gear to get a stunning sunset shot. But a few essentials make all the difference.a) Camera (or Smartphone)
Yes, DSLRs and mirrorless cameras are great, but high-end smartphone cameras these days? They’re seriously impressive. iPhones, Samsungs, Pixels — they can all handle sunset shots like champs with a few manual tweaks.b) Tripod
A tripod helps you keep your shot steady, especially in low-light conditions. Nobody wants a blurry sunset. It also opens the door to long exposure shots, which can make clouds and water look dreamy.c) ND Filters (Optional)
If you’re into pro-level stuff, a neutral density filter helps control exposure when shooting directly at the sun. Think sunglasses for your lens.d) Remote Shutter or Timer
Avoid shaking the camera. Either use a remote shutter or set a 2-second timer to keep things crisp.
3. Location, Location, Location
Finding the right place to shoot is half the job.a) Do Your Research
Use tools like Google Maps, Instagram, or even travel blogs to scout spots with a clear view of the horizon. Look for water, mountain ranges, desert landscapes, or city skylines that can frame your shot beautifully.b) Think About the Foreground
A great sunset photo isn’t just about the sky — it’s also about what’s below it. Palm trees, people in silhouette, rooftops, boats, even animals — all of these can add depth and story to your picture.c) Watch the Weather
Clouds are your friend — seriously. A slightly cloudy sky catches sunlight better and throws out colors that’ll blow your mind. Check weather apps for cloud cover — 30–70% is usually perfect.4. Nail the Composition
You could have the best equipment and the most vivid sunset, but if your composition is off? Meh.a) Rule of Thirds
Don’t plop the sun right in the center of your frame. Think about the rule of thirds — divide your frame into a grid of 9 (like a tic-tac-toe board). Position the sun or other objects along those lines or where they intersect.b) Use Leading Lines
Paths, roads, fences, or the shoreline can subtly guide the viewer’s eye toward the sunset in the frame.c) Frame It
Use elements like windows, arches, trees, or buildings to create a ‘frame within a frame’ around your shot. It adds interest and context.5. Tweak Your Camera Settings
If you’re using a camera or a phone with manual settings, here’s what to play with:a) ISO
Keep it low (100–200) to avoid graininess in your photos.b) Aperture (f-stop)
Use a smaller aperture (like f/8 or f/11) for sharper landscapes and a deeper field of view.c) Shutter Speed
Slower shutter speeds help in low light. If you're capturing movement (like waves), a slower shutter creates a smooth, silky effect.d) White Balance
Set it to ‘cloudy’ or ‘shade’ to enhance warm tones. Or play around for creative effects.6. Don’t Forget the Post-Processing Magic
Even the best photos often need a little post-session touch-up. Think of editing as your photo’s final outfit before the big reveal.a) Apps and Tools
Snapseed, Lightroom Mobile, VSCO — so many great options for both beginners and pros.b) Adjust but Don’t Overdo It
Tweak exposure, contrast, highlights, and shadows. Saturation can make colors pop but don’t go full neon unless that’s the vibe you’re going for.7. Add a Human Touch
People in photos add emotion, scale, and relatability. A silhouette of a person looking at the sun? Feels poetic. A couple holding hands? Total romance. Someone doing a cartwheel? It’s fun and spontaneous.Pro tip: Make sure the person isn’t blocking the sun unless you’re going for starburst effects.
8. Get Creative with Angles
Don’t just stand still and click. Lie down, climb higher, shoot through objects, or try puddle reflections. Think of your camera like your eye — move it around and look for something different.9. Tell a Story
A single photo can be powerful, but a series can narrate the whole magic. Start with wide shots showing the setting, zoom into details (waves crashing, hands holding sunglasses), and finish with the deep, moody after-glow.Post on Instagram? Use the carousel to tell that story.
10. Be Present
This might sound cheesy, but it matters — don’t get too caught up with the equipment, settings, and endless snapping. Take a few solid shots, then put your gear down and watch. Because honestly? Nothing beats soaking in the real deal with your own eyes.Quick Sunset Photography Checklist
- ✅ Arrive early (golden hour)- ✅ Use a tripod (for stability)
- ✅ Low ISO, small aperture, adjust shutter speed
- ✅ Use rule of thirds and leading lines
- ✅ Include a subject or silhouette
- ✅ Shoot RAW if possible (for editing flexibility)
- ✅ Be patient and have fun!
Best Sunset Spots Around the World
Need inspiration? Add these to your sunset bucket list:- Santorini, Greece – cliffside views and whitewashed buildings
- Uluru, Australia – mystical desert vibes
- Grand Canyon, USA – dramatic landscapes
- Oia, Greece – postcard perfection
- Isle of Skye, Scotland – raw beauty
- Uluwatu Temple, Bali – heavenly over the ocean
- Masai Mara, Kenya – sunsets with wildlife
The world is packed with epic sunset backdrops. Just pick a spot, pack your camera (and maybe a snack), and go chase that light.
Final Thoughts
Capturing the perfect sunset isn’t just about the photo — it’s about the moment, the journey, the feelings. Sure, the camera settings and gear help, but the real magic? That’s in seeing the beauty and choosing how to frame it.So next time you’re on the road and the sky starts melting into color, don’t rush. Slow down, frame your shot, and snap a memory that’ll never fade.
Now get out there and paint with light!
all images in this post were generated using AI tools
Category:
Photography TipsAuthor:

Shane Monroe
Discussion
rate this article
2 comments
Elena Kane
Master sunset photography; elevate your travel experiences!
April 7, 2026 at 4:23 AM
Shane Monroe
Thanks for the encouragement! Sunset photography truly enhances any travel experience. Enjoy the journey!
Gwen McPhail
Sunsets are like cheese—everyone loves them, but not everyone knows how to capture the perfect slice! Grab your camera, a snack, and maybe a sunset-watching buddy for the best results!
March 30, 2026 at 4:17 PM
Shane Monroe
Absolutely! Capturing the perfect sunset is all about timing and perspective—just like enjoying a good slice of cheese. Happy shooting!