Composition Techniques to Make Your Travel Photos Stand Out
6 December 2025
Let’s be honest—there’s nothing worse than coming back from an incredible trip only to realize that your travel photos look... well, meh.
You saw jaw-dropping sunsets, bustling street markets, serene mountaintops, and turquoise-blue oceans with soft sands. Yet somehow, your photos just don’t do those experiences any justice. They’re too cluttered, poorly lit, or just plain boring.
Sound familiar?
Don’t worry. You don’t need a fancy DSLR or a photography degree to make your travel snapshots pop. All it takes is learning a few clever composition techniques to breathe life into your photos. And once you get the hang of them, your Instagram feed (and your travel album) will never be the same.
Ready to turn those “okay” travel pics into frame-worthy masterpieces?
Let’s dive in.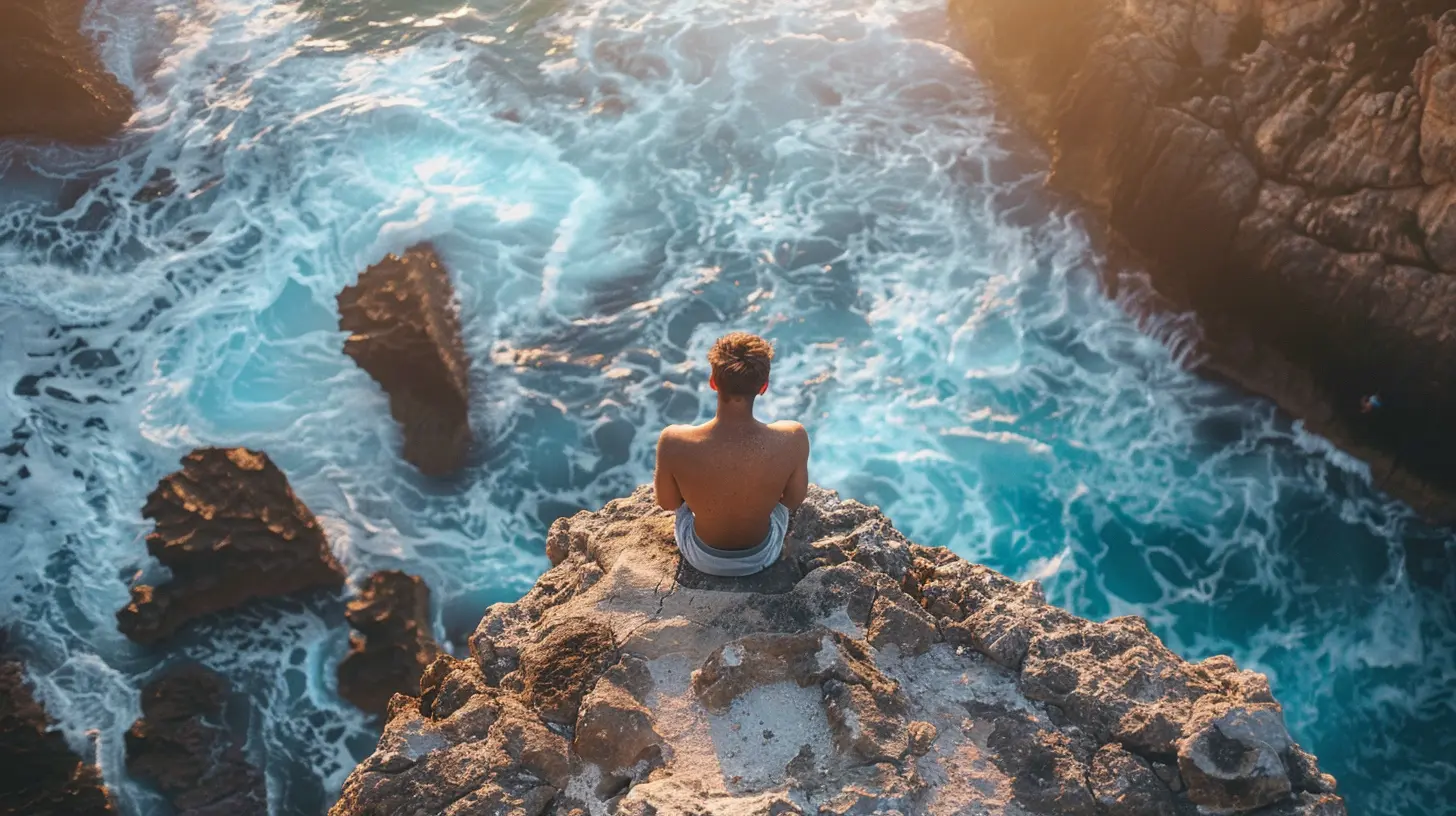
📐 1. Rule of Thirds: Your First Step Toward Wow-Worthy Photos
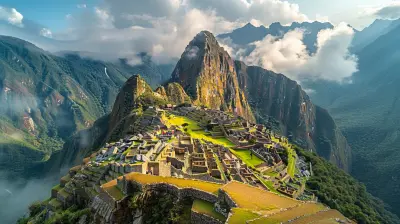
Alright, let’s start with one of the golden rules of photography—the “Rule of Thirds.”Imagine your photo split into 9 equal parts with two vertical and two horizontal lines. This mental grid helps you decide where to place your subjects.
Here’s the secret sauce: Instead of putting your subject smack dab in the center, try placing it along one of those gridlines or at the intersections. It adds balance and oomph to your picture without making it look like a passport photo.
📷 Tip: Most smartphone cameras have the grid feature built-in. Just turn it on in your settings and thank yourself later.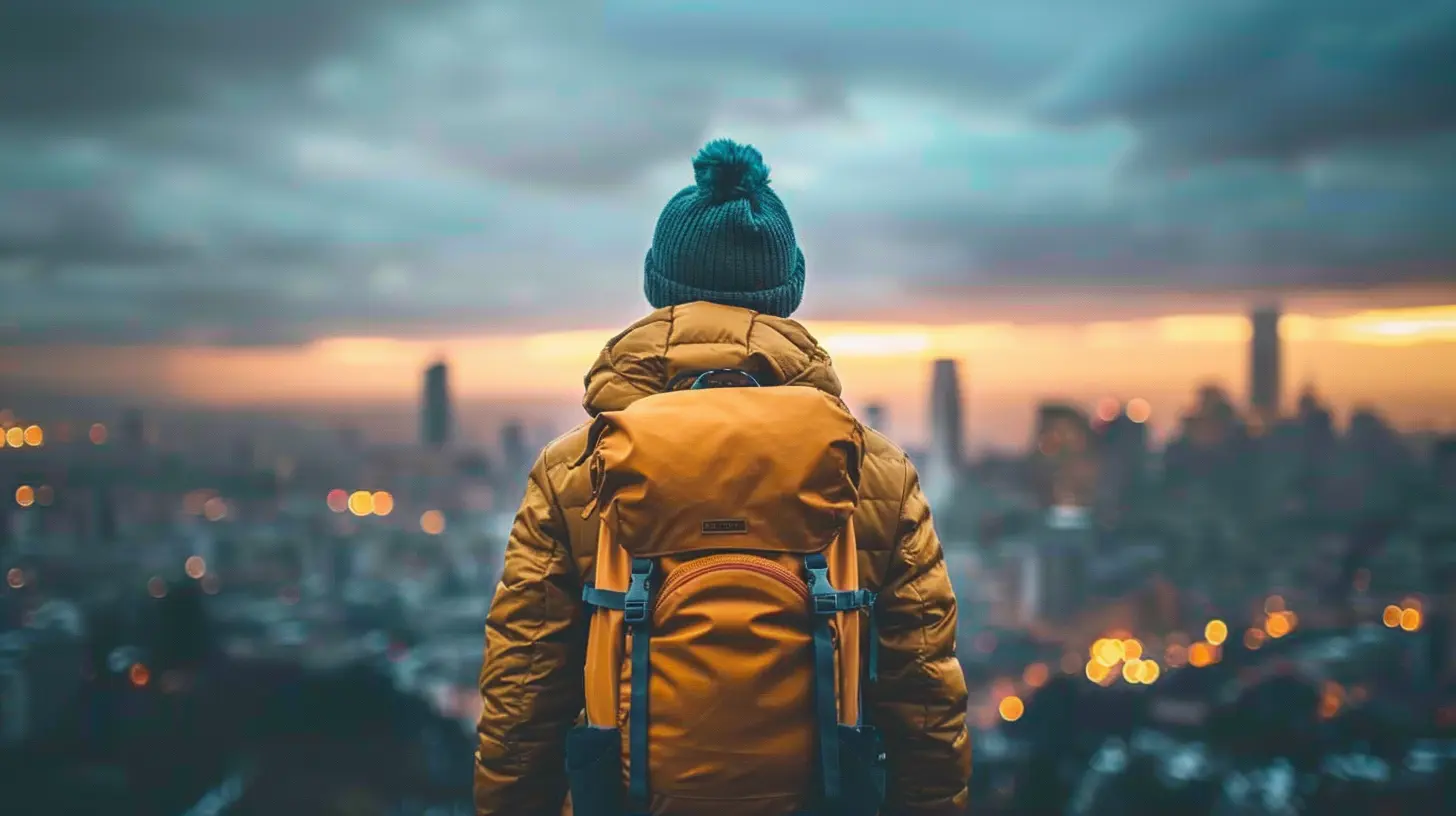
🌄 2. Leading Lines: Your Eye’s GPS
Ever looked at a picture and felt your eyes naturally follow a path? That’s the magic of leading lines.Think roads, bridges, pathways, rivers, fences—even rows of colorful street stalls. These elements guide the viewer's gaze right to where you want it.
Using leading lines in your travel photos can create depth, perspective, and that oh-so-cinematic feel.
🧠 Pro tip: Try standing at the beginning of a bridge or down a winding alleyway. Let the lines pull the viewer into your travel story.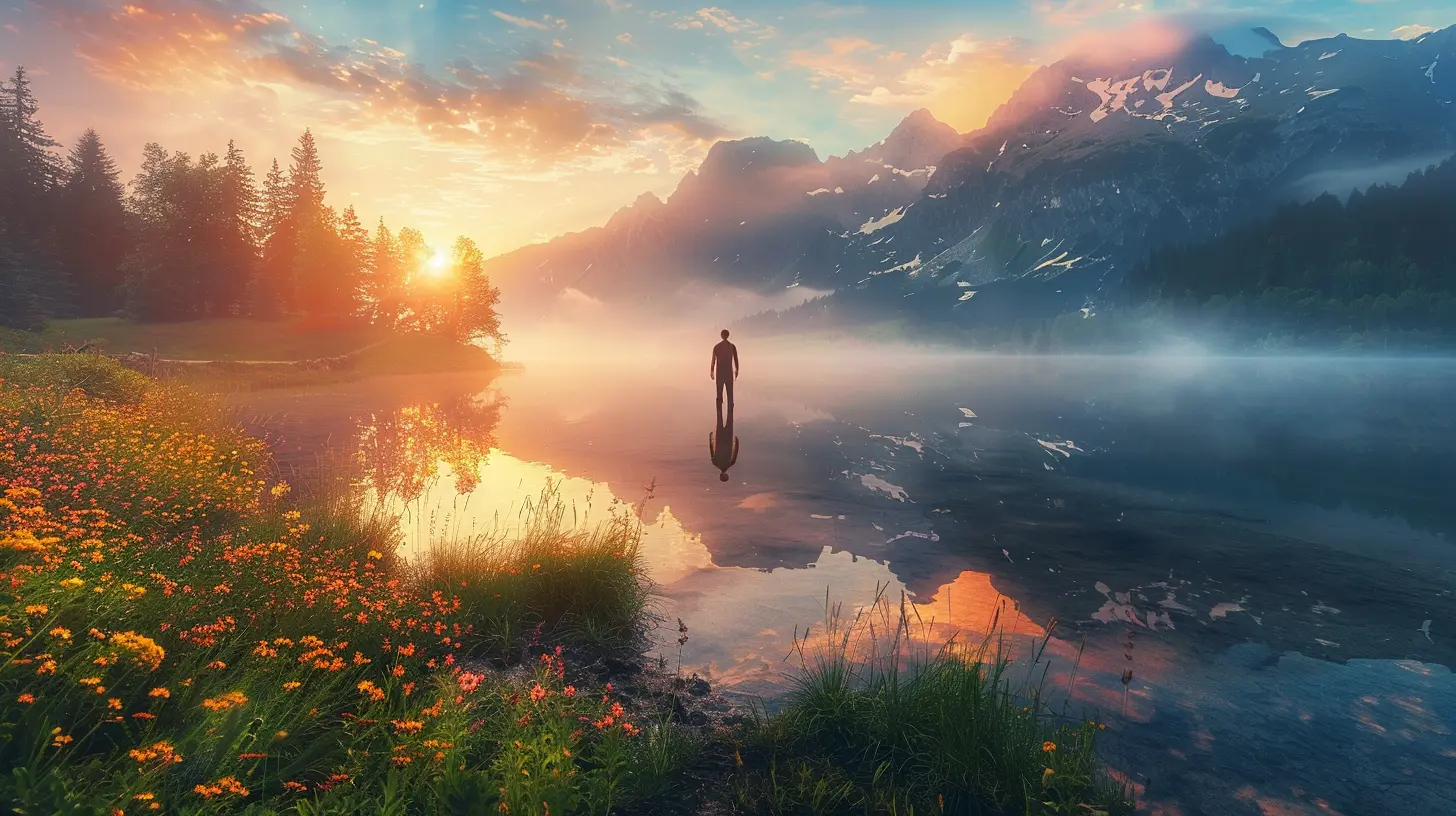
🧍 3. Framing: Not Just for Wall Art
Who knew you could frame your subject without an actual frame?Framing is when you use natural elements—like doorways, windows, arches, or even tree branches—to surround your main subject. It creates a tunnel vision effect that draws attention right where you want it.
Imagine a photo of a cathedral, but taken from inside a shadowy archway. That contrast gives your photo more drama than a daytime soap opera!
🎯 Bonus: Framing can also minimize background distractions. Win-win, right?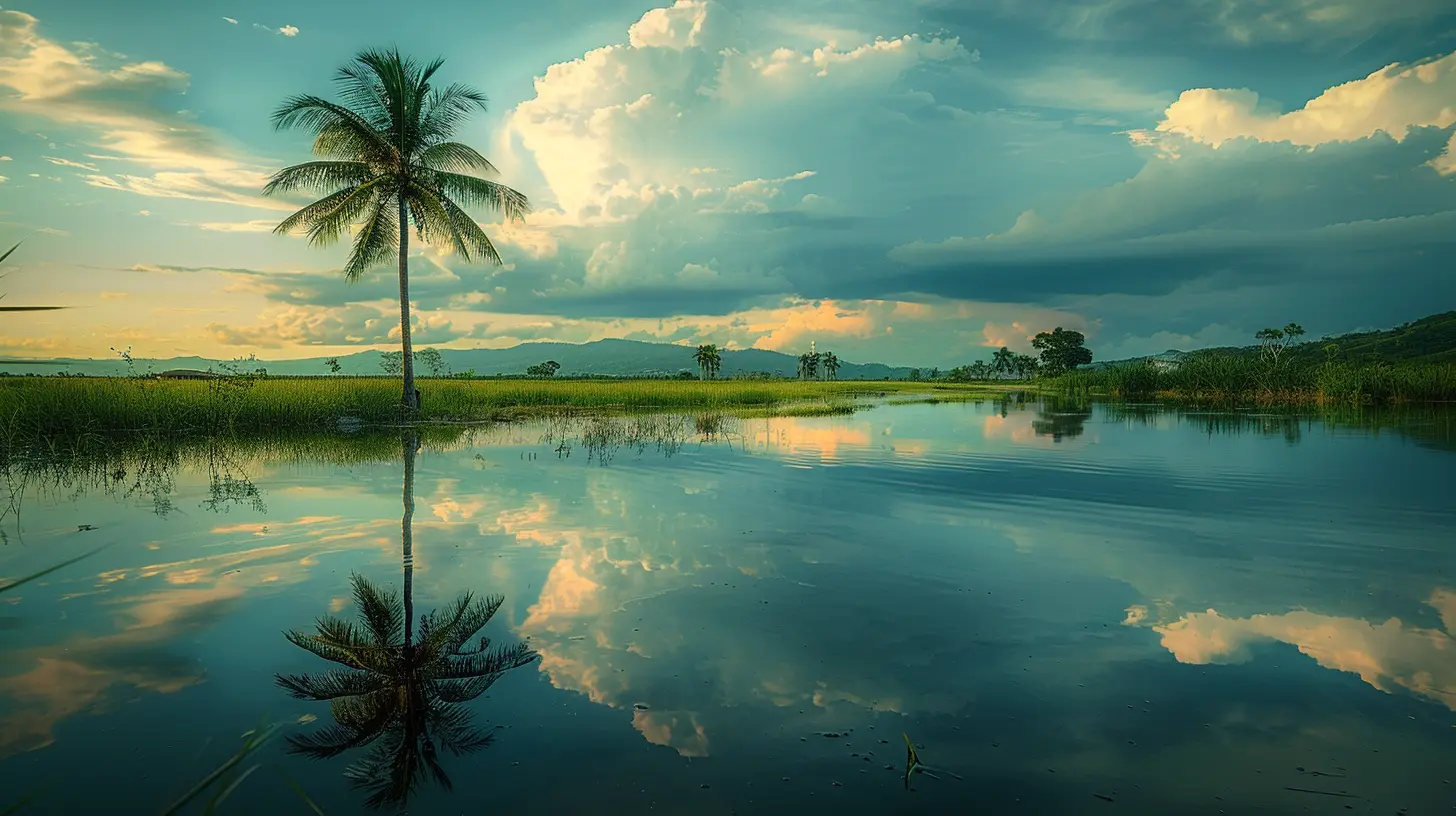
🌈 4. Find the Right Colors and Contrast
Let’s talk colors. They can make or break your photo faster than a finger on a shutter button.Look for bold contrasts—red against green, blue skies against golden sand, colorful buildings against overcast skies. These combos make your photos pop instantly.
Warm tones (reds, oranges, yellows) tend to evoke energy and excitement. Cool tones (blues, greens, purples) create calm and peace. Mix them with purpose!
👗 Your outfit matters too! If you’re shooting in a green rice field, wear something that complements or contrasts boldly, like red or yellow. Instant style points.
🤏 5. Use Negative Space (Aka: Breathe, Baby, Breathe)
Negative space is the area around your subject—and sometimes less really is more.Instead of cramming your photo with every sight in view, leave some breathing room. A lone traveler walking across a vast desert or stand-alone lighthouse against a cloudy sky? That’s storytelling gold.
This technique helps highlight your subject, adds emotion, and gives your photos that minimalistic, artsy vibe.
🧘♂️ Think of negative space as the silent pause in a beautiful song—it makes the whole thing more powerful.
🧭 6. Play with Perspective (Hint: Get Low or Go High)
Here’s a fun fact: Your legs are your best photography gear.Most people shoot photos from eye level. It’s what we’re used to, so it’s what most photos look like—predictable. Yawn.
Want to spice things up?
- Get down low. Like, tummy-on-the-ground low. It creates drama and makes anything—temples, tulips, or tacos—look monumental.
- Climb high. Rooftops, balconies, or even a small hill can give you a fresh angle that screams "travel magazine."
📱 Even your phone’s selfie stick can double as a quick boom arm. Just tilt and snap.
🙌 7. Symmetry and Patterns: Because Our Brains Love Order
Our brains are wired to love symmetry—it’s why we find it in everything from faces to architecture.When you spot a symmetrical scene (think palace hallways, tiled floors, or reflections in water), center it and let the magic happen.
Better yet, break the symmetry with a strong subject—like a person in the middle. Boom! Visual tension = visual interest.
Oh, and don’t forget patterns. Repetitive elements (rows of boats, colorful rooftops, lanterns hanging in markets) can look stunning when captured just right.
🧐 Look closely: patterns are everywhere, just waiting to be found.
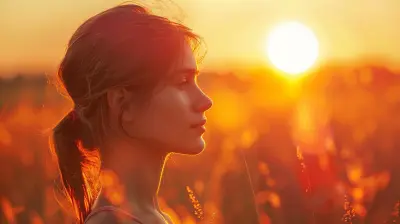
🌆 8. Lighting Is Everything (Golden Hour, Baby)
Ask any photographer, and they'll tell you: lighting makes or breaks a photo.The best time to shoot? Golden hour—the hour after sunrise or before sunset. Soft, warm light makes everything look magical. Literally everything. Even puddles.
Avoid harsh midday sun—it throws nasty shadows and causes people to squint like they’re solving a math problem.
🌤 Cloudy days are your friend too—think softbox for the sky.
🧍♀️ 9. Include People for Scale and Story
You’re in the Himalayas. There’s a snowy peak looming overhead. It’s huge. But in the photo? Meh.Add a human element, and suddenly, that mountain looks like a beast.
Including people gives scale to your photos. It also adds emotion and relatability. Viewers can imagine themselves there. They feel connected.
It could be a stranger walking past, a local vendor, or hey—why not you? Prop up your phone or ask someone to click. You’re part of the story too.
🔄 10. Break the Rules (Seriously)
Once you’ve got the basics down, feel free to bend, break, or dance all over them.Photo rules are there to guide you, not cage you. Some of the most iconic images in history tossed the “rules” out the window.
So go ahead—take a crooked photo of a street corner. Capture some accidental lens flare. Try a reflection in a puddle or a selfie with motion blur. The beauty of travel photography? It’s all about creativity.
🎨 Just like travel, photography is about discovering the unexpected. Don't be afraid to get weird with it.
📸 Bonus Tips to Keep in Your Back Pocket:
- Use foreground interest: A flower, fence, or even your coffee cup can help create depth.- Look for local details: Textures, patterns, and close-ups (like a painted tuk-tuk or spices at a market) tell great stories.
- Shoot in portrait and landscape: You'll thank yourself when it’s time to post or print.
✈️ Final Thoughts: It's Not the Camera, It's the Eye
Here’s the truth: A fancy camera can help, but you don’t need it to capture stunning shots.The real magic lies in how you see the world. Every alley, sunset, or plate of street food has a story. These composition techniques? They’re just keys to unlocking it.
So whether you're snapping pics with your phone in Bali or lugging a DSLR around Rome, remember—it’s about the journey, the eye behind the lens, and (most importantly) having fun.
Now grab that camera, get out there, and shoot something epic.
all images in this post were generated using AI tools
Category:
Photography TipsAuthor:
Shane Monroe
Discussion
rate this article
2 comments
Sienna Mathews
Great insights on enhancing travel photography! The tips on rule of thirds and leading lines are particularly useful. Can't wait to apply these techniques on my next adventure for more stunning shots!
January 16, 2026 at 3:52 AM
Shane Monroe
Thank you! I'm glad you found the tips helpful. Enjoy your next adventure and happy shooting!
Orionis McIntyre
Great tips! Mastering composition truly elevates travel photography to the next level.
December 7, 2025 at 5:32 AM
Shane Monroe
Thank you! I'm glad you found the tips helpful. Happy shooting!