How to Capture the Texture and Detail of Historic Architecture
24 September 2025
Let’s be honest—there’s just something magical about historic buildings. The crumbling stone, the detailed carvings, the weather-worn wooden doors with their iron knockers—it all tells stories of the past. Whether you’re standing in front of a medieval cathedral or a centuries-old town square, the texture and detail of historic architecture can be truly mesmerizing. But capturing that same magic in a photograph or through your sketchpad? That takes a bit of finesse.
In this post, I want to walk you through how to capture the texture and detail of historic architecture without needing a professional studio setup or Michelin-star-level drawing skills. Seriously, whether you're packing a DSLR, a smartphone, or just a pencil and notebook, you're totally in the right place. Let's dive in!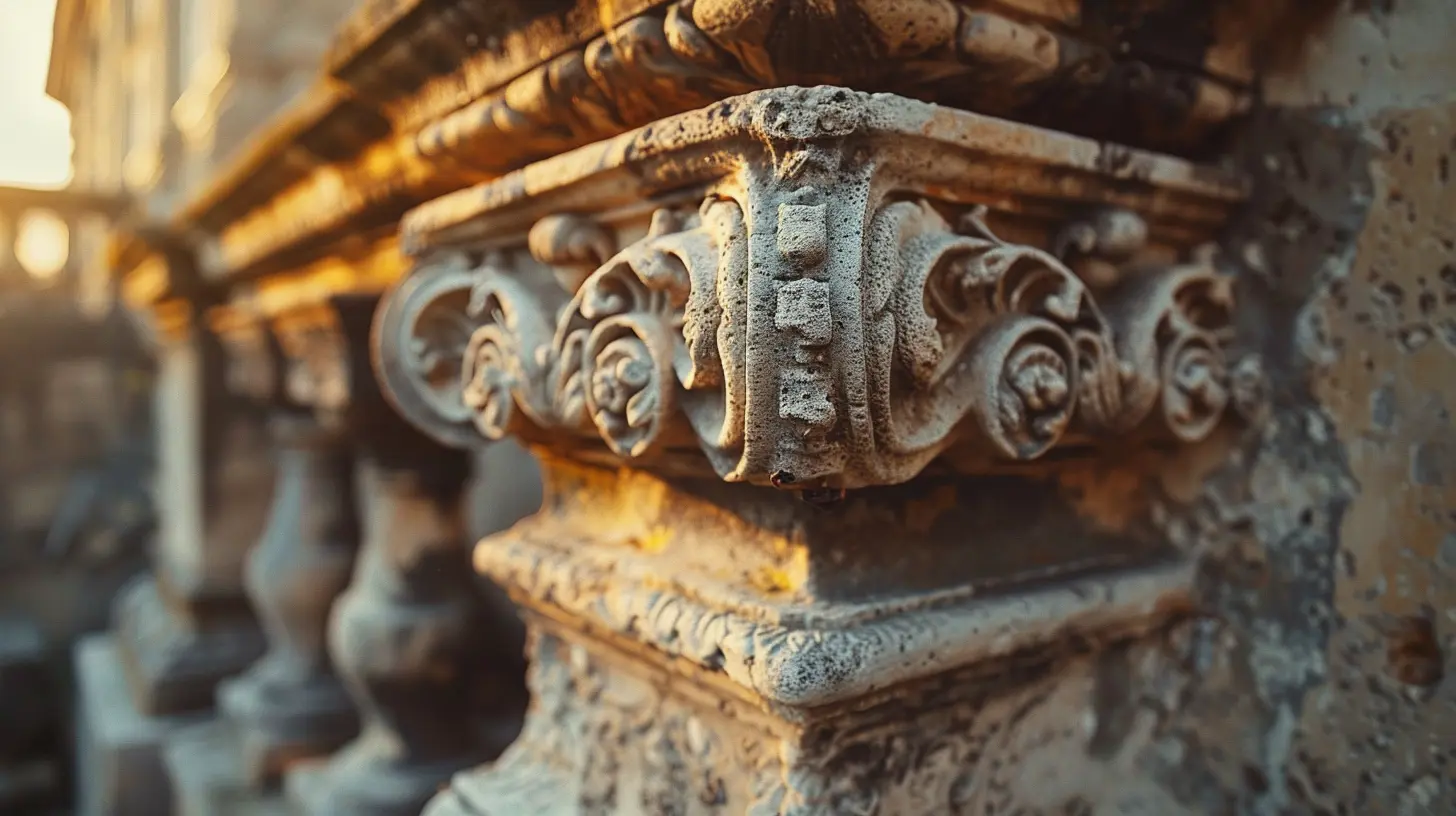
Why Texture and Detail Matter
Before we get into the how, let’s talk about the why. What makes those little grooves, cracks, and carvings so important?Textures and details are like the fingerprints of architecture. They reveal the craftsmanship, the time period, and even the materials that builders used. They tell you how something was made, and often, why it’s still standing after hundreds of years. Missing out on those details is like reading a novel but skipping every third page—you’ll still get the story, but it won’t have the same depth.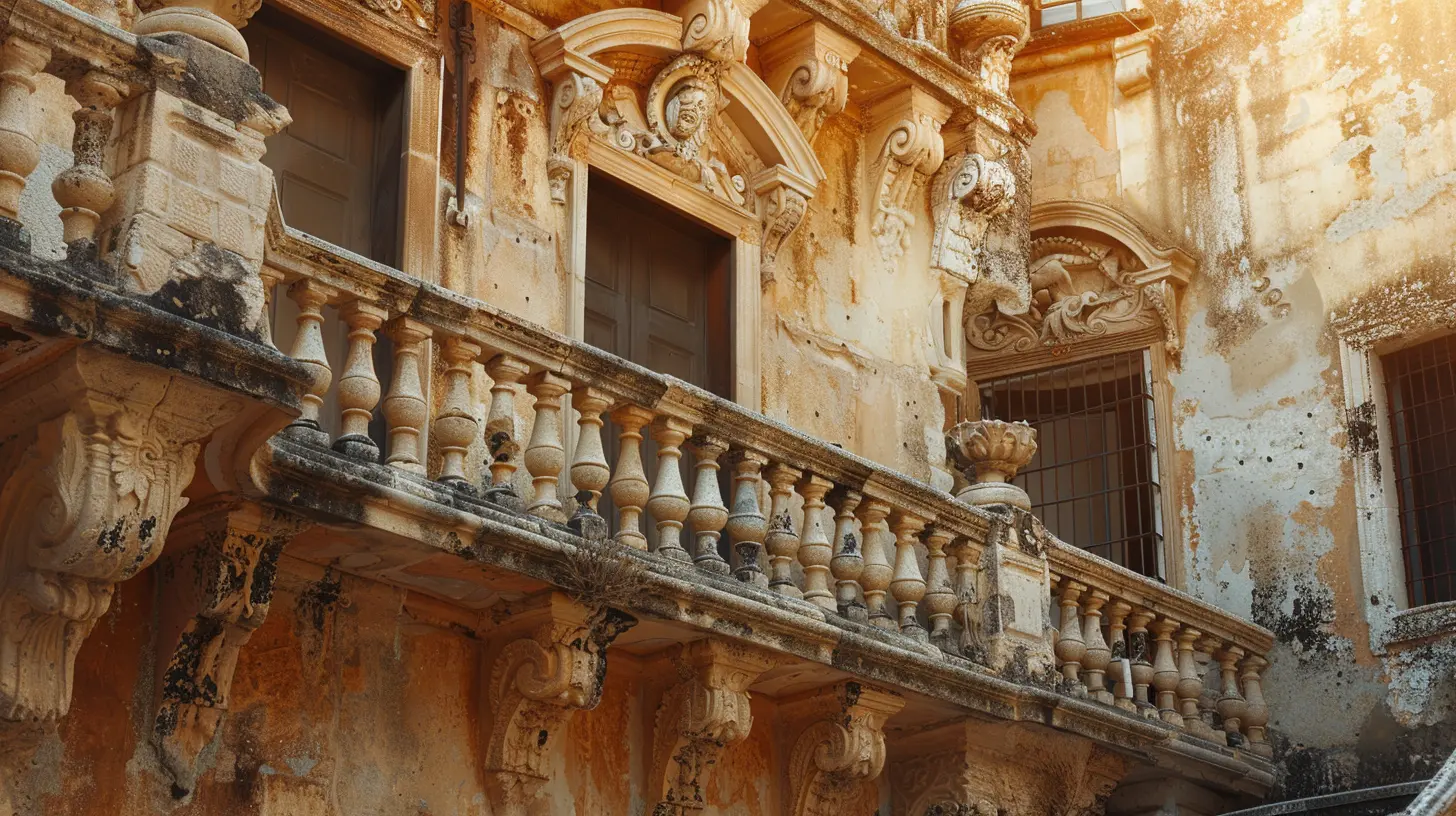
Gear Up (But Don’t Overthink It)
Let’s keep things real: you don’t need a $3,000 camera to do this right. Your smartphone is probably more powerful than you think.📷 Camera or Smartphone?
- Smartphones: Modern phones like the iPhone, Pixel, or Samsung Galaxy have fantastic cameras with features like macro mode and HDR. Use them!- Cameras: If you have a DSLR or mirrorless camera, that’s great too. Use a prime lens (like 35mm or 50mm) for sharpness or a zoom lens if you can’t get close.
🏃♂️ Portability Matters
When you’re shooting historic sites, you’re usually on foot and possibly on a tight schedule. Lightweight gear equals fewer regrets.Pro Tip: Bring a microfiber cloth. Old buildings are dusty, and so are your lenses.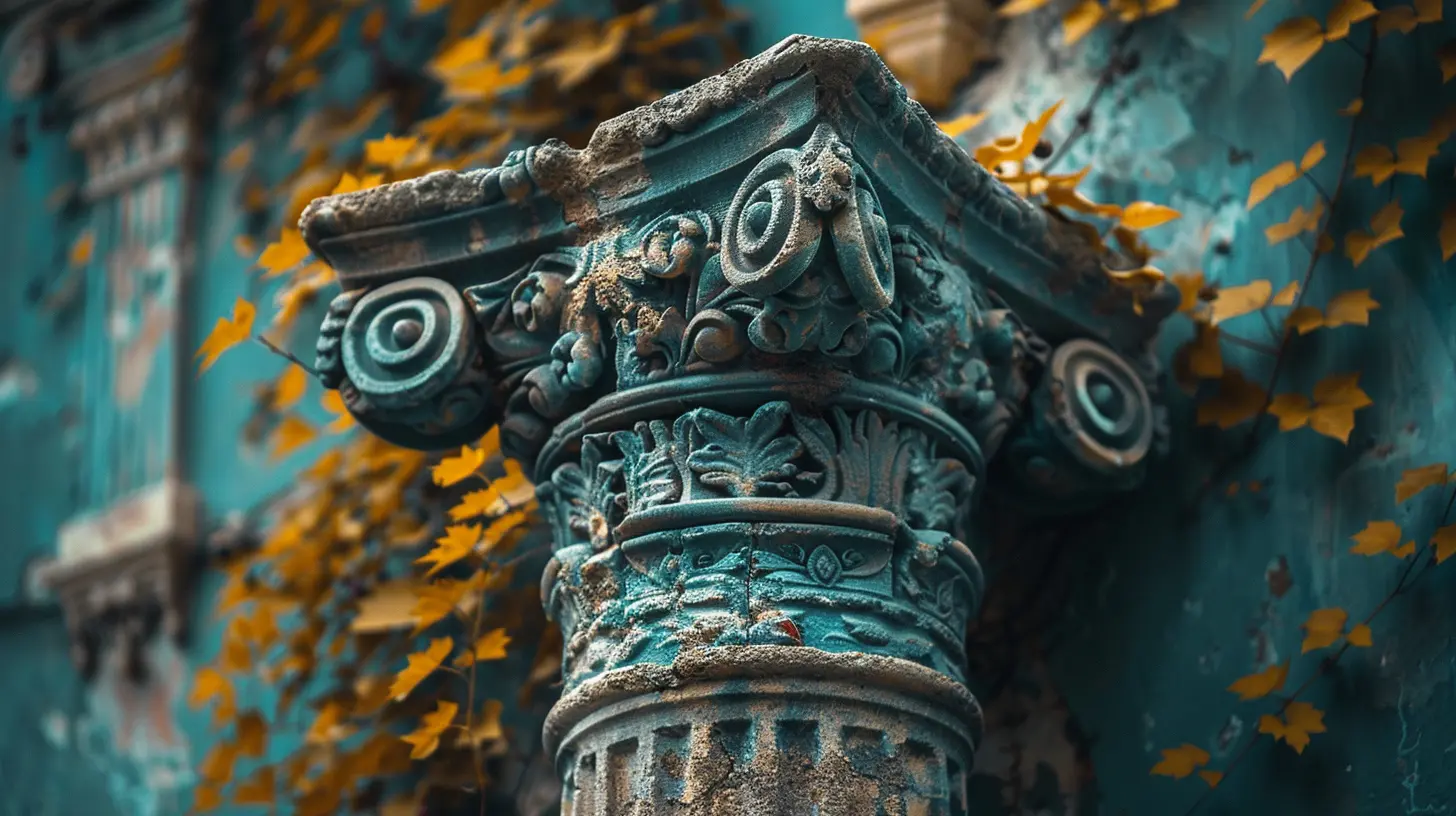
Timing Is Everything
You’ve probably heard about "golden hour"—that dreamy time just after sunrise or before sunset. It’s popular for a reason. The soft, angled light enhances shadows and texture like nothing else.☀️ Lighting Tips for Texture
- Morning or late afternoon: Angle of the sun brings out relief and texture.- Avoid harsh noon sun: It flattens details and blows out highlights.
- Cloudy days: Surprisingly good! They diffuse light, making it easier to capture fine details without harsh contrast.
If you’ve only got midday to shoot—don’t panic. Just look for shaded areas or use a polarizing filter to cut down glare.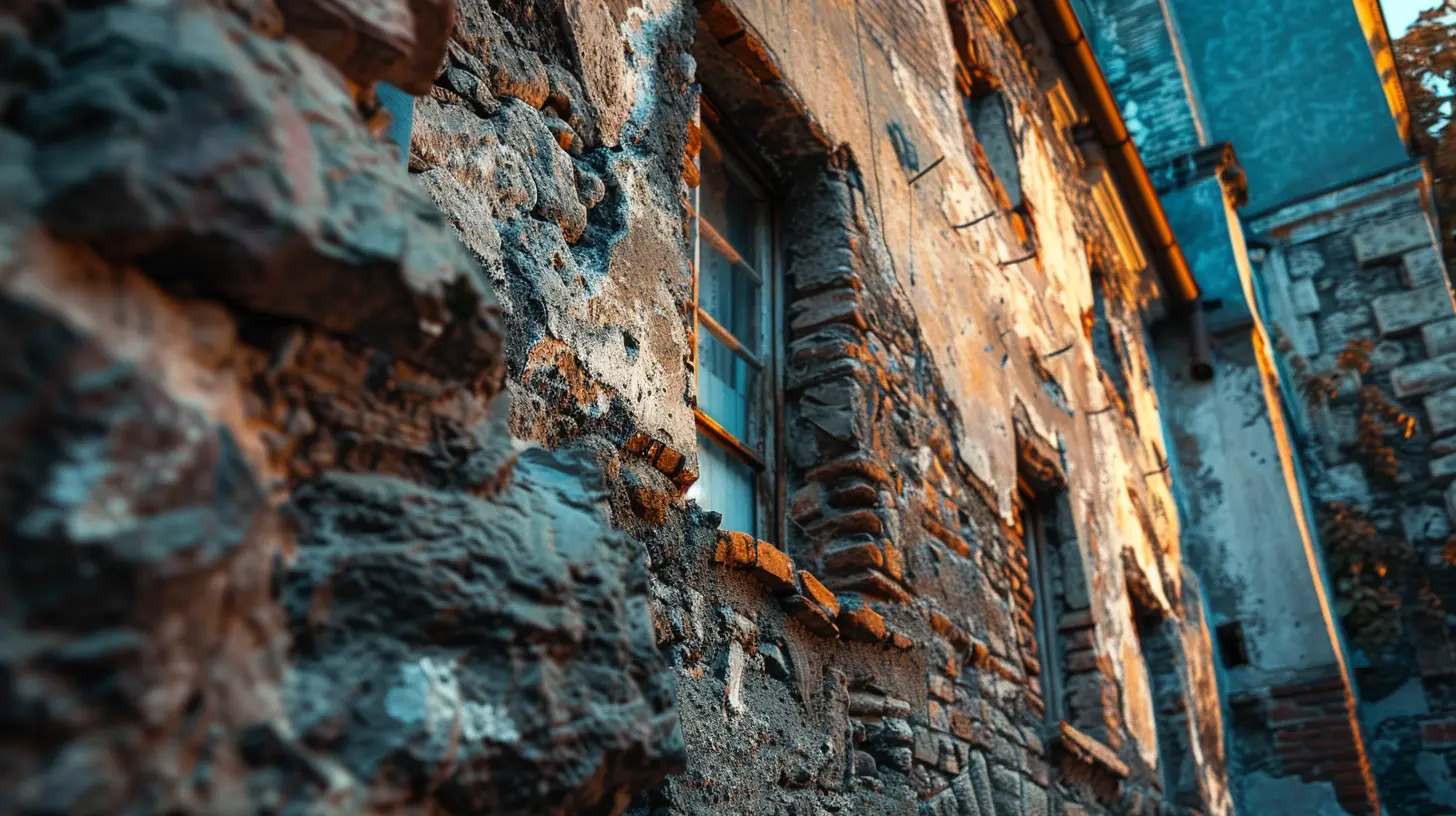
Get Close...Then Get Closer
You know the old saying, "The devil is in the details"? When it comes to historic architecture, it couldn’t be more true.🔍 Zoom In On The Intricacies
Start with an overall shot, then start homing in on:- Masonry patterns
- Decorative carvings
- Door handles or knocker designs
- Worn steps and floors
- Weathered paint or chipped bricks
Don’t be afraid to physically get close (where allowed). Details like tool marks in stone or patterns in wrought iron give your shots an extra layer of depth that wide shots just can’t provide.
Composition: Frame It Like a Story
Think of your shot like a window into another time. How you frame it matters—a lot.🖼️ Use Leading Lines and Symmetry
Historic architecture loves symmetry and repetition. Use that!- Arches along a hallway? Center yourself.
- Staircases? Use them as leading lines to guide the eye.
- Columns and doorways? Frame your subjects.
Odd angles can work too—especially if you're trying to show scale or focus on an unusual detail. Just remember what story you're trying to tell with your shot.
Don’t Forget the Human Element
We humans love context. Including people in your frame offers scale and emotion. One person standing next to a towering, gothic doorway can communicate magnitude better than words ever could.You can also use gestures—like a hand touching a stone wall—to connect the viewer emotionally to the texture you're trying to capture.
Mind Your Backgrounds
When focusing on detailed elements, you don’t want a messy background distracting from your subject. Move around. Change your angle. Even try crouching. Sometimes just lowering your perspective can frame a feature against the sky or a neutral wall.Black and White? Yes, Please
While color has its appeal, black and white photography absolutely sings when it comes to texture.It strips away the distraction of color and brings light, shadow, and detail to center stage. If you're photographing an ancient stone facade or timeworn wood, give it a go in monochrome—you might be surprised by how much more emotion it communicates.
Sketching: Slower But Deeper
Not everyone’s into photography—and that’s totally okay. If you’ve got a sketchpad and a few minutes to spare, spending time drawing architectural details can be incredibly rewarding.✏️ Don’t Stress About Being Perfect
Sketching is more about observation than perfection. Focus on:- How the light hits the surface
- Repeating patterns or motifs
- Textures like brick, wood, or metal
Even a quick 10-minute sketch forces you to slow down and really see the architecture.
Edit with Purpose, Not Overkill
If you're working with photos, post-processing can highlight the textures and fix your lighting.💻 Editing Tips
- Contrast: Boost it to make textures pop.- Clarity/Structure: These settings in tools like Lightroom or Snapseed enhance mid-tone contrast, perfect for surfaces and detail.
- Sharpening: Use subtly—it can make carved details stand out more.
- Desaturate (a little): Helps stop colors from distracting from texture.
But easy there, Picasso—don’t go too far. Over-editing can quickly make a historic archway look like a scene from a video game.
Respect the Site (Please!)
A quick little PSA: Many historic sites are delicate and protected. So always check for rules and signs. Don’t climb on ruins, and please don’t carve your initials into anything (yes, people still do this. 😬)It’s all about balance—getting the shot you want without leaving a trace.
Keep Notes and Stories
After all the effort to capture these amazing details, take a moment to jot down where you were, what caught your attention, or even a fun fact about the site. That context is like seasoning on a good meal—it brings everything together.You’ll thank yourself later when you’re editing or sharing the photos and wonder, “Wait… was that in Prague or Porto?”
Final Thoughts: Embrace Imperfection
Historic architecture isn’t about perfection—it’s about presence. The wear and tear, the asymmetry, the patina of age? That’s what gives it character.So even if your photo’s a little off-center or your sketch has a wobbly line or two, that’s okay. You’re not trying to win a contest. You’re connecting with history, capturing a moment, and maybe even inspiring others to look a little closer the next time they walk by an old building.
all images in this post were generated using AI tools
Category:
Photography TipsAuthor:

Shane Monroe
Discussion
rate this article
1 comments
Cara Pruitt
Absolutely inspiring! Your tips on capturing the intricate beauty of historic architecture are invaluable. Every detail tells a story, and your insights will surely help photographers showcase these treasures beautifully.
October 2, 2025 at 3:37 AM
Shane Monroe
Thank you so much! I'm glad you found the tips helpful. Historic architecture truly has so many stories to tell through its details!