How to Make the Most of Lighting in Your Travel Photos
23 March 2026
Capturing stunning travel photos isn't just about finding breathtaking locations—it's also about understanding and using light effectively. Light can make or break an image, adding depth, emotion, and vibrancy to your shots. Whether you're exploring ancient ruins, wandering through bustling streets, or capturing serene landscapes, mastering lighting can elevate your travel photography to the next level.
In this guide, we'll break down how to use lighting to your advantage, from golden hour magic to handling tricky midday sun. Ready to make your travel photos shine? Let's dive in!
1. Understand the Different Types of Light
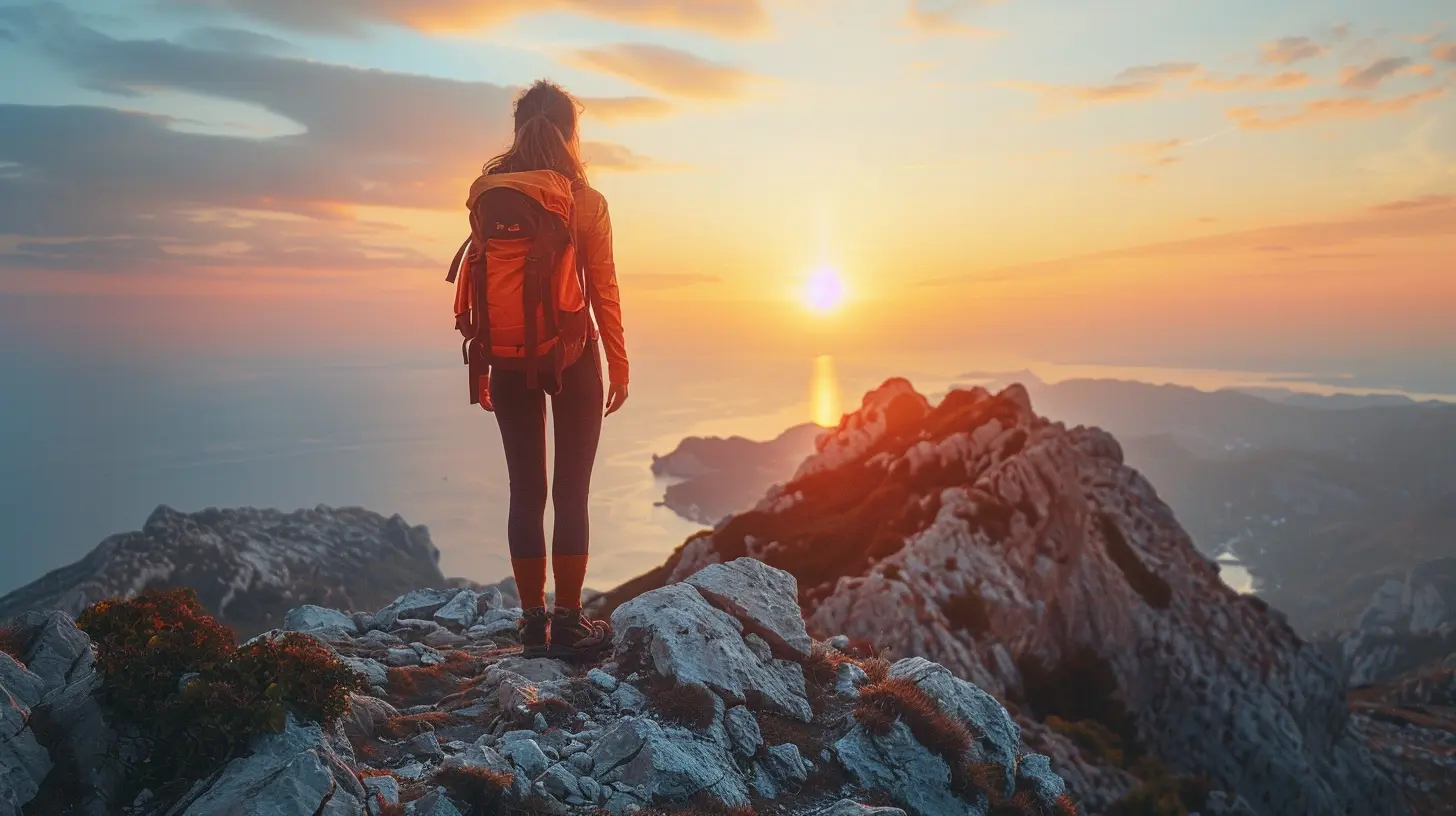
Before you start snapping pictures, it's essential to understand the different types of light that affect your images. Each lighting condition creates a unique mood and feel in your photos.Golden Hour—Every Photographer’s Dream
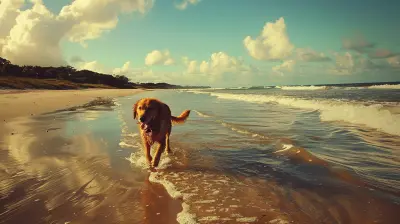
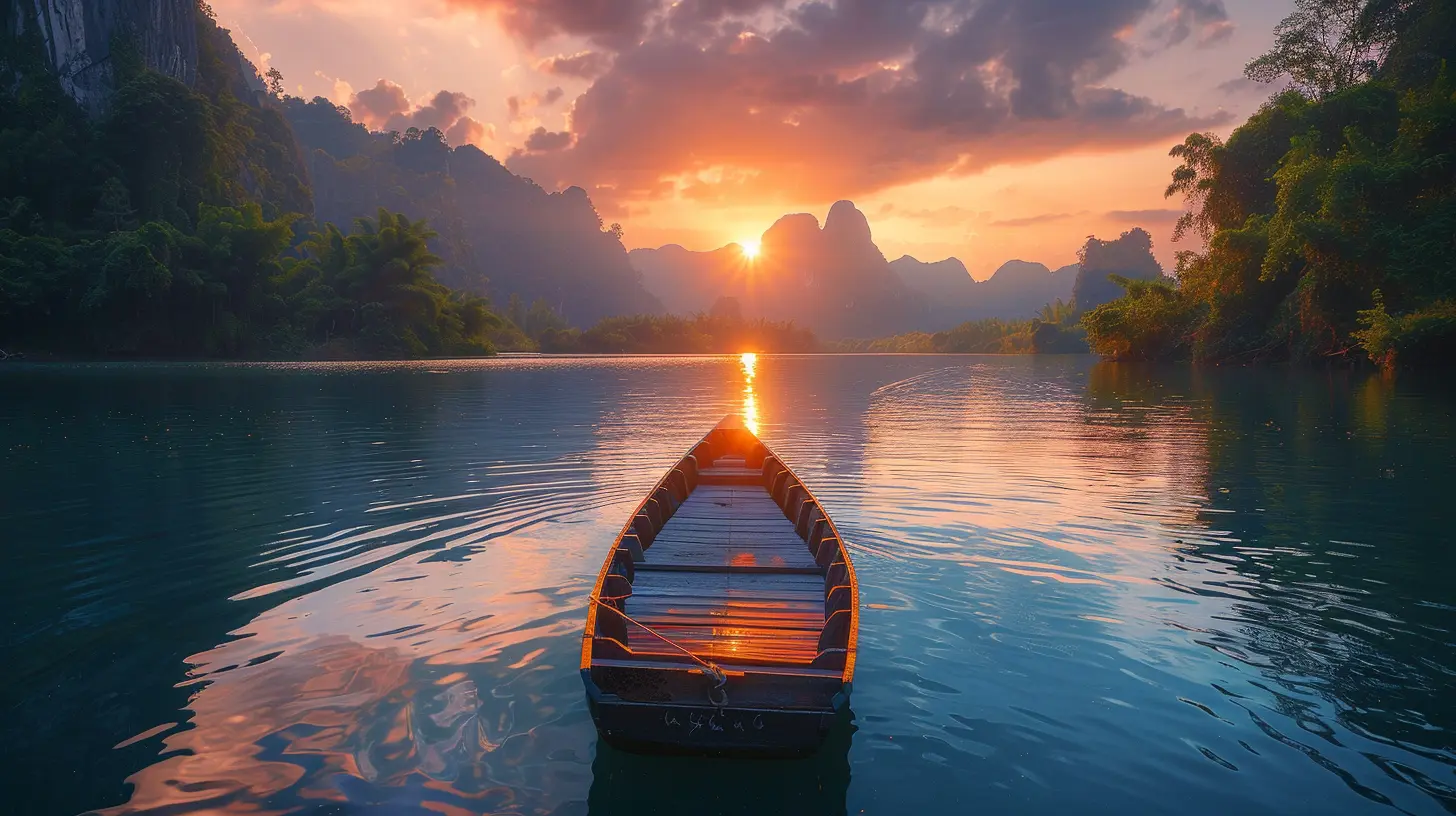
Golden hour, which happens shortly after sunrise and just before sunset, is often referred to as the "magic hour" for photographers. The soft, diffused light creates warm tones, minimal shadows, and a glowing ambiance that flatters any subject. Want dreamy portraits or stunning landscapes? This is your prime time.Pro tip: Use this time for shooting portraits, cityscapes, and landscapes with a warm, glowing look.
Blue Hour—A Fairytale-Like Glow
Blue hour occurs just before sunrise and after sunset when the sky takes on a deep bluish hue. The soft, cool tones create an enchanted atmosphere, perfect for moody cityscapes, silhouettes, and night photography.Pro tip: Capture city lights and reflections on water, as they look incredibly striking under this dreamy lighting.
Midday Sun—Harsh but Usable
Many photographers avoid shooting in the middle of the day because of the harsh shadows and high contrast, but that doesn’t mean it’s impossible to work with. If you're stuck shooting under the blazing sun, look for shaded areas or use the bright light creatively to highlight details and textures.Pro tip: Use a polarizing filter to cut glare and enhance the sky’s color.
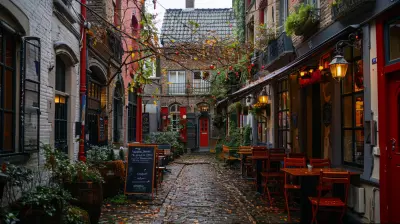
Overcast Days—Nature’s Softbox
Cloudy days may seem dull to the naked eye, but they provide soft, even lighting that eliminates harsh shadows. This makes them perfect for portraits and macro photography.Pro tip: Shoot colorful subjects like flowers, street art, or vibrant clothing to contrast against the neutral background.
2. Position Your Subject for the Best Effect
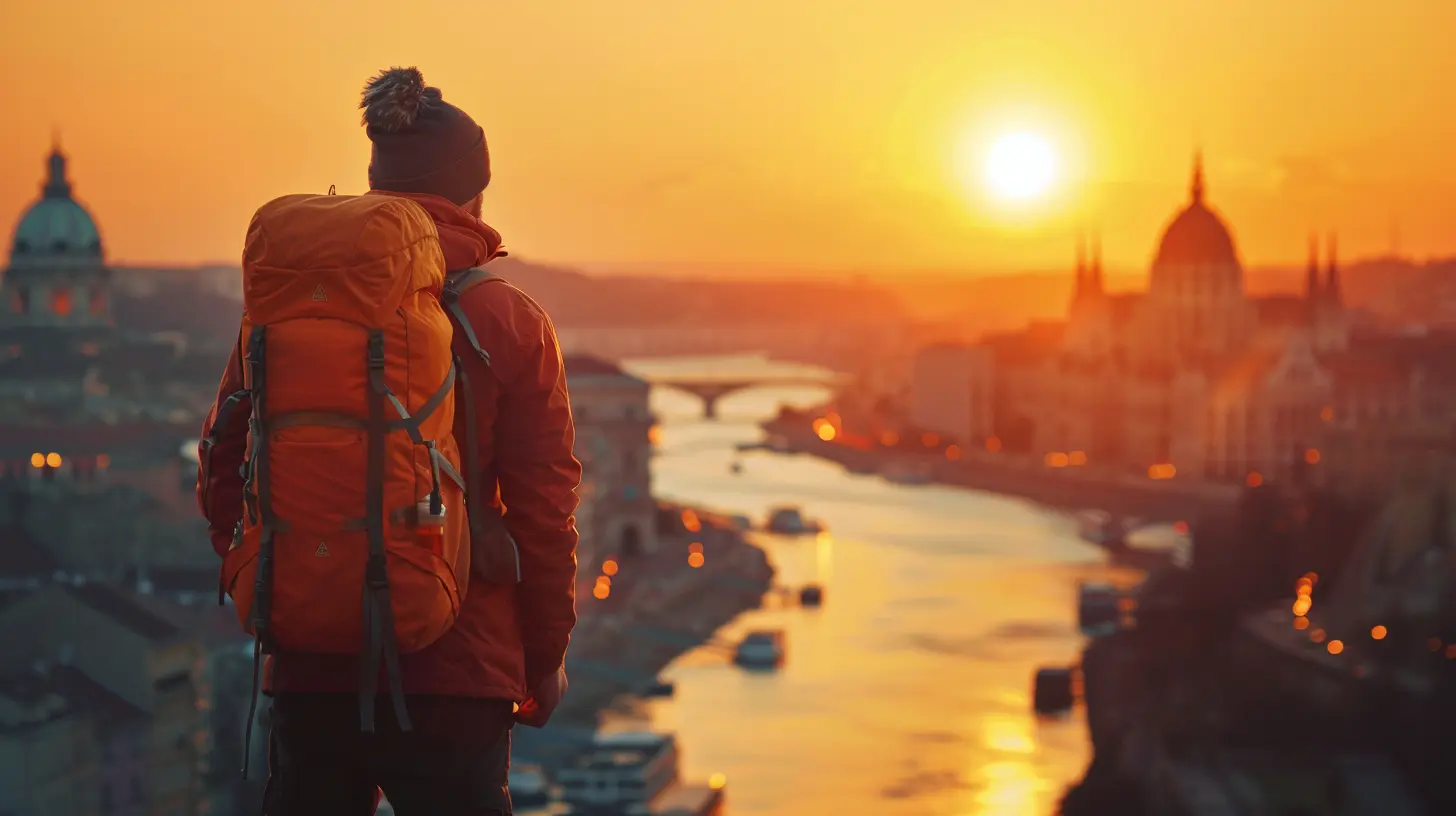
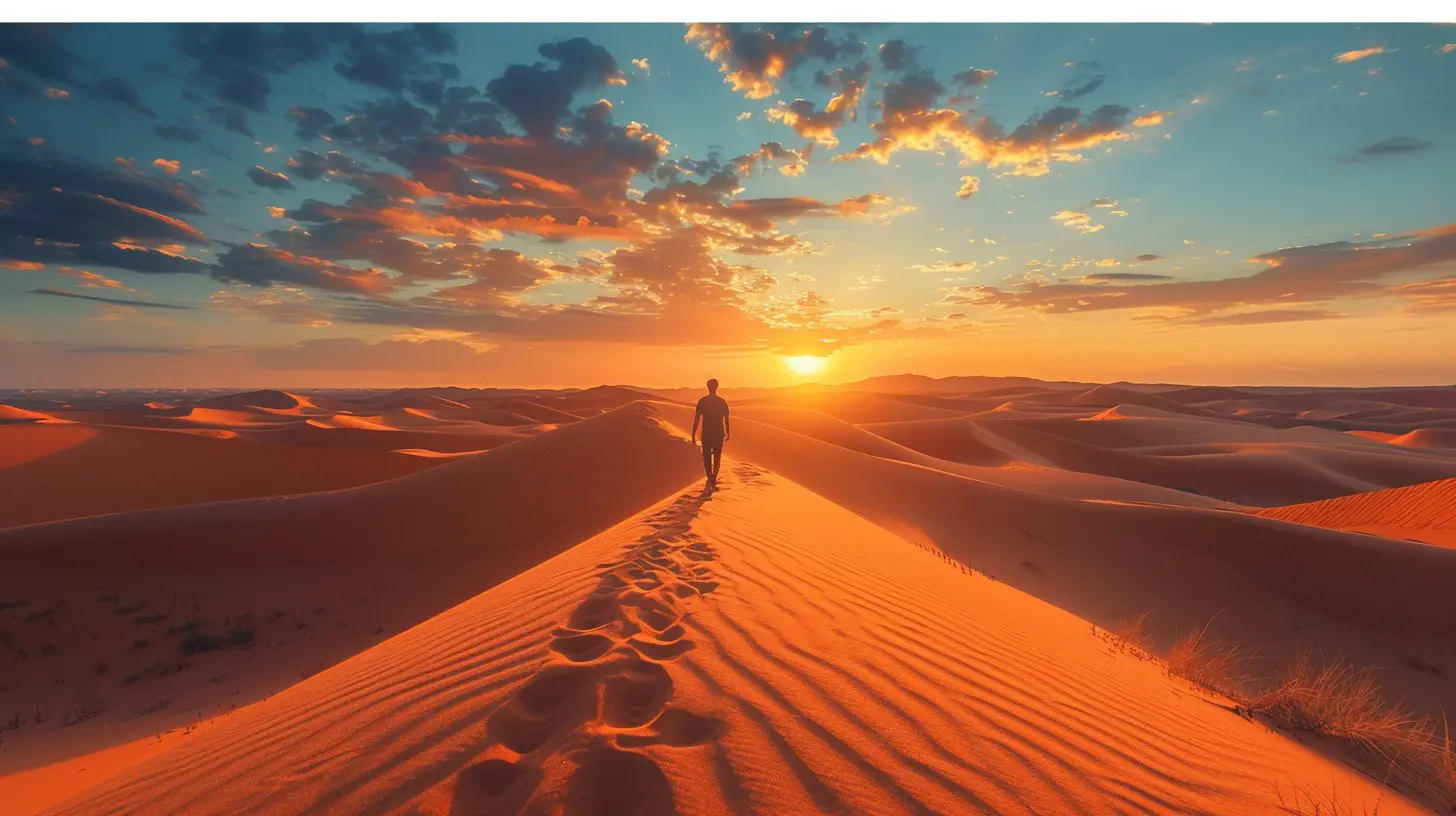
Where you place your subject in relation to the light source can dramatically change the outcome of your photo. Here are a few positioning tricks:Backlighting—Creating a Magical Glow
Position your subject with the light source behind them to create stunning silhouettes or glowing outlines of hair and edges. This works incredibly well during golden hour when the sun is low.Pro tip: Use backlighting for dreamy portraits or to create dramatic shadows and silhouettes.
Side Lighting—Adding Depth and Drama
Side lighting enhances textures and depth by casting interesting shadows. This technique is commonly used in portrait and street photography to add a sense of depth and emotion.Pro tip: If photographing a person, have them turn slightly towards the light to achieve a natural, well-lit look without harsh shadows.
Front Lighting—Bright and Even
Front lighting reduces shadows and highlights details, making it ideal for capturing vibrant colors and crisp subjects. However, it can sometimes make an image look flat.Pro tip: Use front lighting for capturing bright, colorful subjects with even illumination.
3. Use Natural Reflectors to Your Advantage
You don’t always need fancy equipment to get great lighting. Everyday surfaces can act as natural reflectors to bounce light and brighten your shots.- Water: Oceans, lakes, and even wet streets reflect light beautifully, adding dimension to your images.
- Sand & Snow: These bright surfaces bounce light upward, reducing harsh shadows under the eyes when taking portraits.
- Light-Colored Walls: White or light-colored walls can serve as excellent reflectors, helping to soften shadows in your photos.
Pro tip: If you're taking a portrait near a large white wall, position your subject so the reflected light hits their face to create a natural glow.
4. Adjust Your Camera Settings for Optimal Lighting
Your camera settings can make a big difference when working with different lighting conditions. Here’s what to tweak:ISO Settings—Keep It Low When Possible
ISO determines your camera's sensitivity to light. In bright conditions, keep ISO low (around 100-200) to avoid grainy images. In low-light situations, increase it, but be mindful of noise.Aperture—Control the Depth of Field
A wider aperture (lower f-number) allows more light into the camera and creates a beautiful blurred background effect. A narrower aperture (higher f-number) is ideal for landscapes where you want everything in focus.Shutter Speed—Freeze or Blur Motion
A fast shutter speed (1/1000s or higher) freezes action, while a slower one (1/30s or lower) helps capture motion blur for artistic effect, especially in night photography.Pro tip: Use exposure compensation (+/-) to tweak brightness levels without diving into manual mode.
5. Make the Most of Shadows and Silhouettes
Shadows and silhouettes can add drama and intrigue to your photos. Instead of avoiding them, use them creatively:- Capture long shadows during golden hour for an artistic touch.
- Position your subject against a bright background to create a striking silhouette.
- Play with patterns—shadows cast by buildings, trees, or even people provide compelling compositions.
Pro tip: Reduce exposure slightly to deepen shadows and enhance contrast.
6. Use Artificial Light When Necessary
While natural light is ideal, sometimes artificial lighting can help enhance your shots.- LED Lights & Flash: Great for low-light conditions or adding a pop of light in dark locations.
- Fairy Lights & Neon Signs: Perfect for creative nighttime photography with vibrant colors.
- Headlamps & Flashlights: Useful for illuminating subjects in nighttime adventure shots.
Pro tip: If using flash, try bouncing it off a surface instead of aiming it directly at your subject to avoid harsh shadows.
7. Edit Your Photos for a Final Touch
Even the best-lit photos can benefit from a little post-processing magic. Use apps like Lightroom, Snapseed, or Photoshop to enhance your images.- Boost contrast and adjust exposure to refine lighting balance.
- Enhance shadows and highlights for a dynamic look.
- Adjust white balance to correct color temperature and make your photos look natural.
Pro tip: Avoid over-editing; subtle tweaks will keep your photos looking authentic and professional.
Final Thoughts
Lighting can make or break your travel photos, but with a little practice, you can use it to your advantage. Whether you're working with the golden hour glow, playing with shadows, or using creative artificial lighting, understanding light will help you take more captivating and visually stunning shots.So, the next time you're out exploring with your camera or phone, pay attention to the light—it just might turn an average shot into a masterpiece!
all images in this post were generated using AI tools
Category:
Photography TipsAuthor:

Shane Monroe
Discussion
rate this article
2 comments
Zevran Whitley
Chasing light, capturing magic!
April 7, 2026 at 2:47 PM
Shane Monroe
Thank you! Embracing natural light truly transforms photos into magic. Happy shooting!
Madison Fisher
Thank you for sharing these insightful tips on utilizing lighting for travel photography! Your suggestions on the golden hour and avoiding harsh midday sunlight are particularly helpful. I can't wait to implement these techniques on my next adventure. Looking forward to more of your photography advice in future posts!
March 29, 2026 at 3:00 PM
Shane Monroe
Thank you for your kind words! I'm glad you found the tips helpful, and I can't wait to see your amazing travel photos using these techniques. Stay tuned for more!