Mastering the Art of Travel Photography: Tips for Stunning Shots on the Go
2 August 2026
Traveling is an adventure, and what better way to freeze those unforgettable moments than through photography? Whether you're capturing the sun dipping below the horizon in Santorini or a bustling street in Tokyo, travel photography is all about storytelling. But let’s be real—snapping stunning photos on the go isn’t always as simple as pulling out your phone and clicking away.
So, how do you take jaw-dropping travel photos without looking like a lost tourist with a camera? Buckle up, because we’re diving into the secrets of mastering travel photography!
? The Basics: Gear & Preparation
1. Choose the Right Camera (Without Going Overboard)
You don’t need a suitcase full of expensive gear to take amazing photos. A high-quality smartphone, a mirrorless camera, or a lightweight DSLR can work wonders. The key is to pick a camera that fits your travel style—because let’s be honest, lugging around a five-pound camera in 100-degree heat isn’t exactly fun.Pro Tip: If you're a beginner, opt for a mirrorless camera. It offers DSLR-like quality without the extra bulk.
2. Pack Smart: Less is More
Your photography gear should be as travel-friendly as your passport. Here’s a short checklist of essentials:- A versatile lens (like a 24-70mm for flexibility)
- Extra memory cards (because running out of space mid-shoot is tragic)
- A lightweight tripod (for those stunning long-exposure shots)
- A microfiber cloth (your lens WILL get smudged)
- A power bank (because dead batteries = missed shots)
? Mastering Composition: The Secret to Eye-Catching Shots
3. The Rule of Thirds: Because Centering Everything is Boring
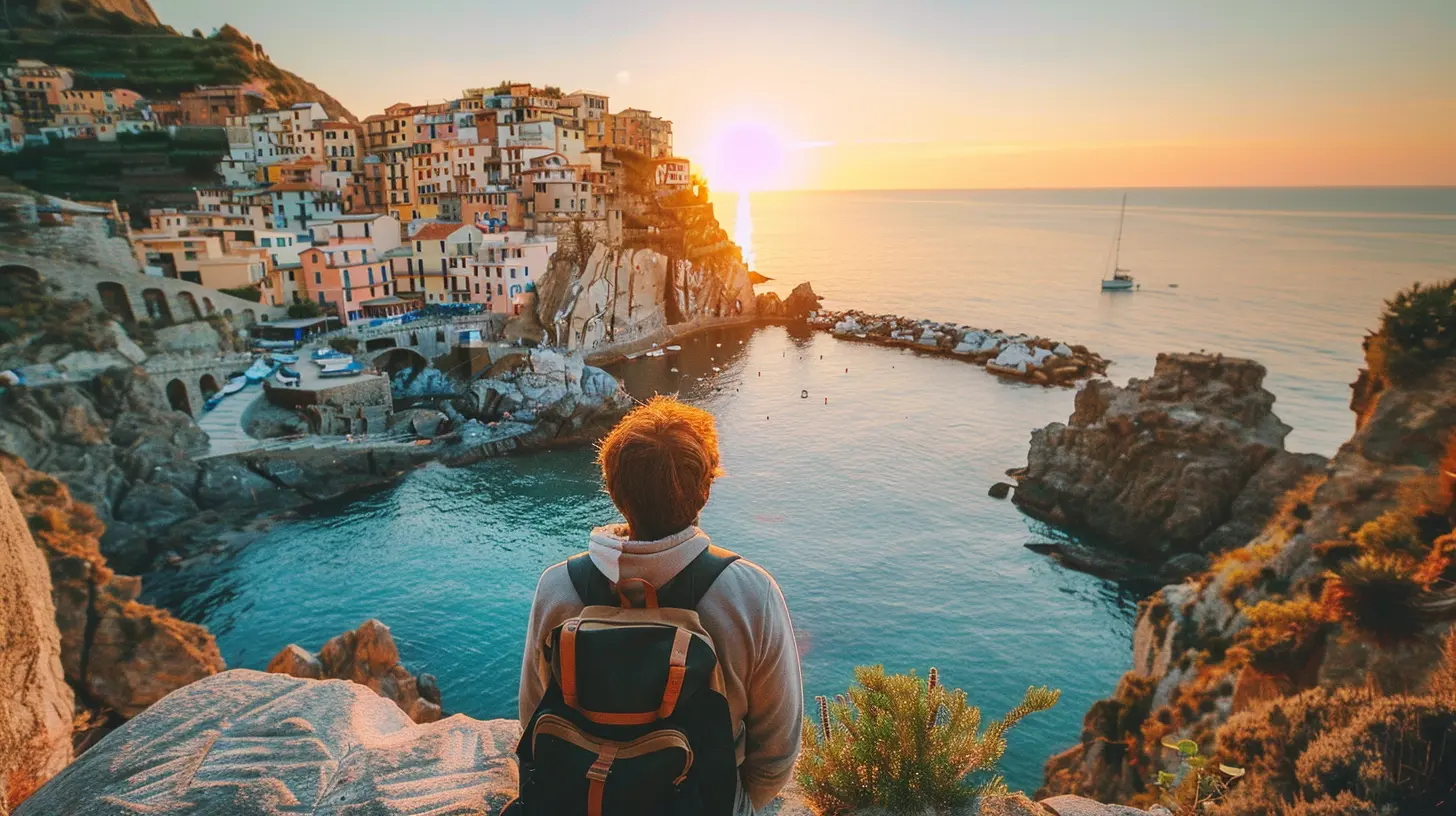
The rule of thirds is an easy trick to make your photos more visually appealing. Imagine your frame divided into nine equal sections—try placing your subject along these lines instead of smack dab in the center.Example: Instead of putting the Eiffel Tower in the middle, shift it slightly to the side. Instant improvement!
4. Leading Lines: Guide the Viewer’s Eyes
Use roads, alleys, rivers, or pathways to lead the viewer’s eyes toward the subject. It creates depth and makes the image feel dynamic.Example: A winding road leading towards a mountain peak will make your shot more engaging than just a random mountain photo.
5. Frame Your Subject Like a Pro
Look for natural frames—doorways, arches, tree branches—to add depth and creativity to your images. It’s like giving your photo a built-in border without needing Photoshop!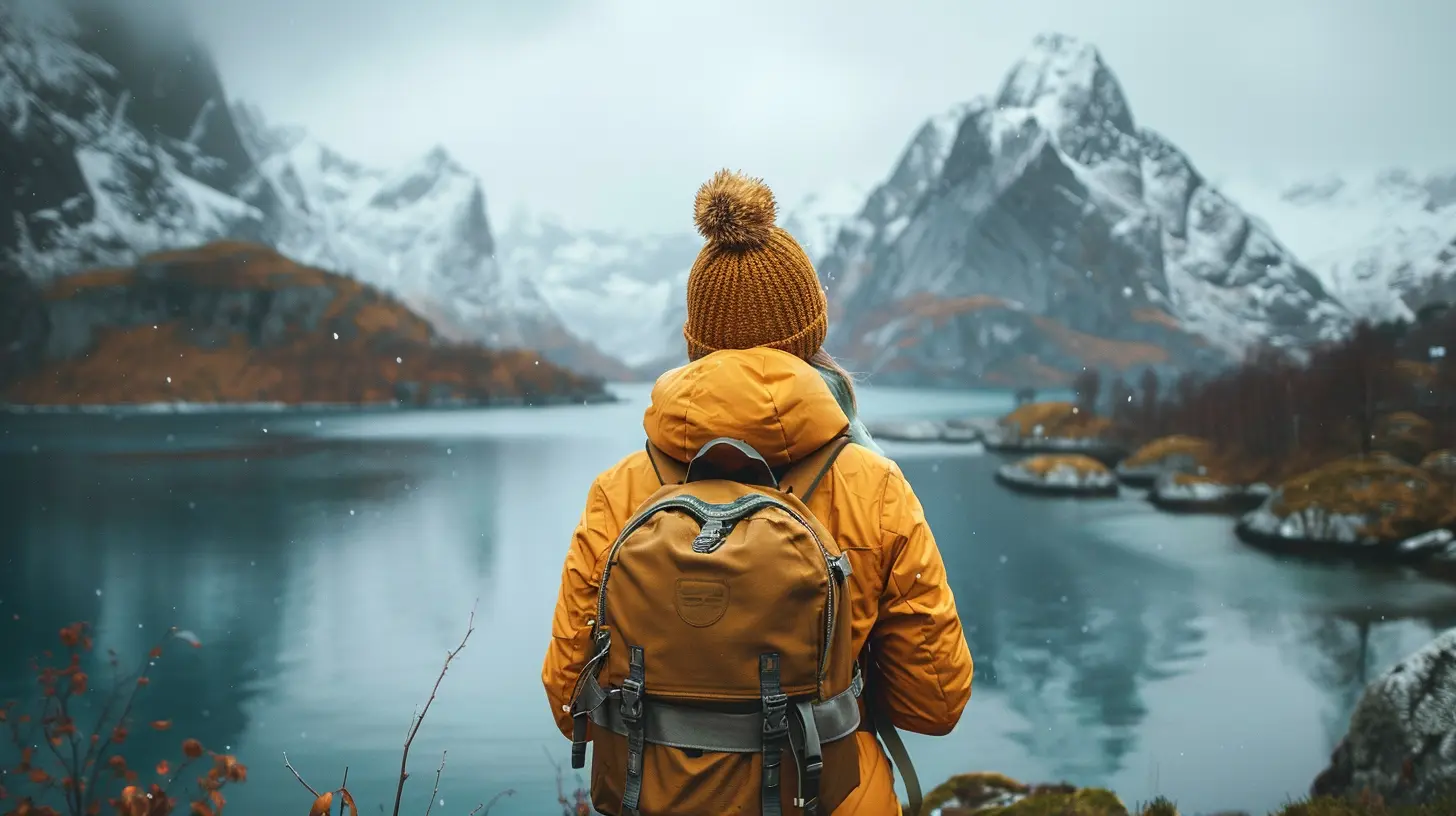
? Capturing the Perfect Light
6. Golden Hour is Your Best Friend
Photographers swear by the golden hour—those precious moments just after sunrise and before sunset when everything is bathed in warm, soft light. It’s basically nature’s Instagram filter.Pro Tip: Use apps like "Golden Hour" to track the best times for your location!
7. Avoid Harsh Noon Light Like the Plague
Midday sunlight creates harsh shadows and blown-out highlights—aka a recipe for disaster. If you must shoot during the day, find shaded areas or use a reflector to soften shadows.8. Experiment with Silhouettes
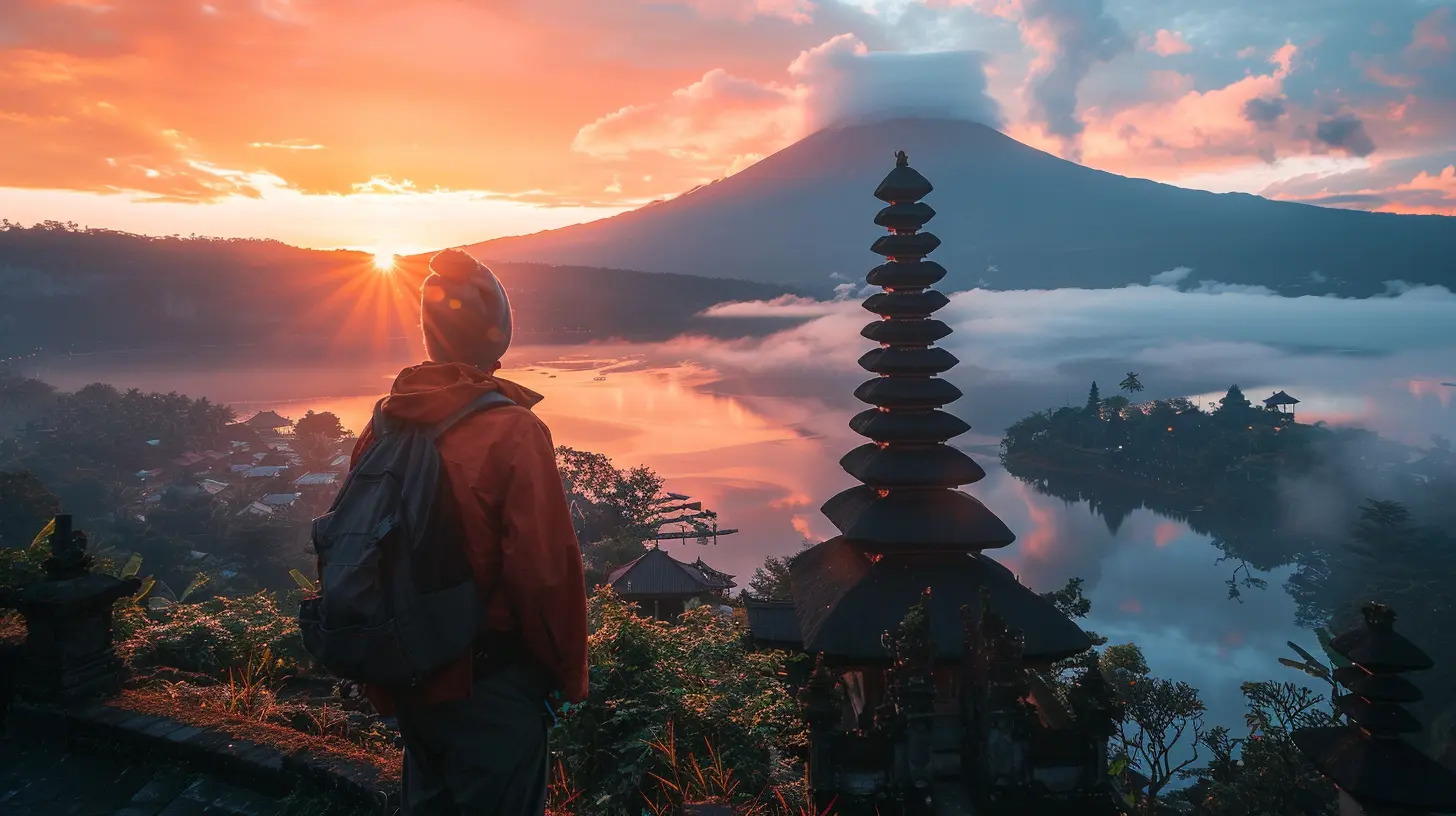
Shooting against the light (like a sunset) can create dramatic silhouettes. Keep your subject in front of the bright background and lower the exposure for that moody, mysterious effect.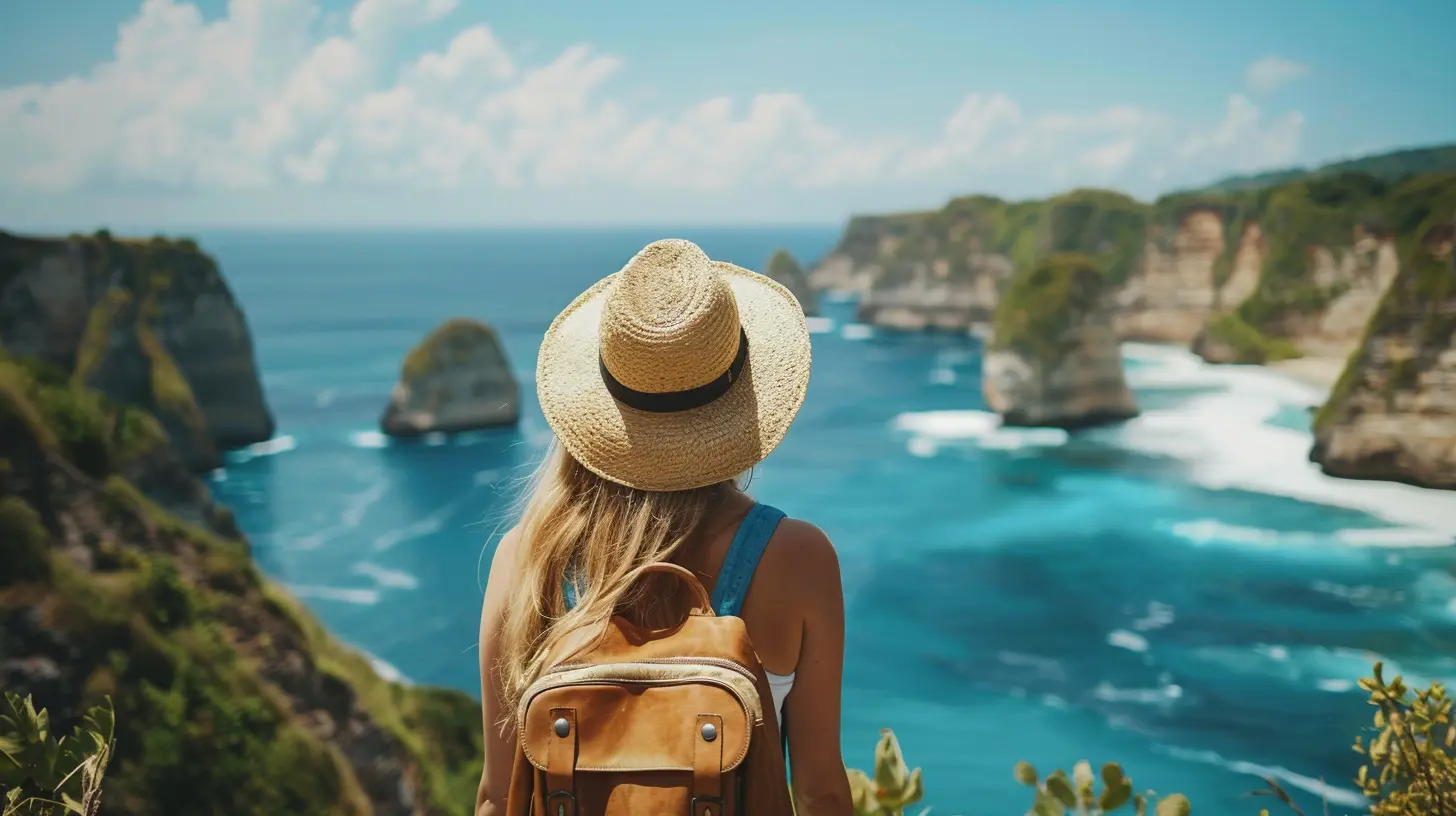
? Capturing the Soul of a Destination
9. Tell a Story with Your Photos
The best travel photos don’t just show a place—they make the viewer feel something. Instead of just photographing a landmark, capture the little moments:- A local street musician playing a soulful tune
- A vendor arranging vibrant spices in a market
- A candid laugh between two best friends in a foreign café
10. Capture People (But Respectfully)
People bring life to travel photography. If you want to photograph locals, always ask for permission. A genuine smile can go a long way in breaking the ice!Pro Tip: Candid shots often look more natural than posed ones—so keep your camera ready!
11. Iconic Landmarks? Find a Unique Angle
We’ve all seen a million photos of the Taj Mahal taken from the same spot. Instead of repeating the cliché, find a unique perspective. Shoot from the side, capture reflections, or incorporate foreground elements for an unexpected twist!✨ Editing: Bringing Photos to Life
12. Edit, But Don’t Overdo It
Editing can enhance your shots, but going overboard with saturation and filters can make them look fake. Use apps like Lightroom or Snapseed to adjust brightness, contrast, and colors subtly.Pro Tip: Stick to a consistent editing style—it makes your travel photos look cohesive.
13. Shoot in RAW (If Possible)
RAW files store more image data, giving you better flexibility in post-processing. Yes, they take up more space, but the editing possibilities make it worth it!
? Final Pro Tips for Travel Photography Success
- Be patient: Sometimes, the perfect moment takes time—wait for the right light, the right subject, the right composition.- Shoot more than you think you need: You can always delete bad photos later, but you can’t recreate a missed shot.
- Keep moving: Don’t just stand in one place—walk around, crouch, climb (safely, of course) to find the best angle.
- Look beyond the obvious: Some of the best shots aren’t the famous landmarks but the small, unexpected scenes in between.
Wrap-Up: Go Capture the World!
Travel photography is more than just taking pictures—it’s about capturing memories, emotions, and stories. Whether you're a seasoned pro or just starting out, these tips will level up your photography game and help you take stunning shots on the go!So, what are you waiting for? Pack your camera, hit the road, and let the world see through your lens!
all images in this post were generated using AI tools
Category:
Photography TipsAuthor:

Shane Monroe
Discussion
rate this article
1 comments
Nyxaris McLemore
Oh sure, because capturing the perfect sunset is way more important than actually enjoying the sunset. Who needs memories when you have a flawless Instagram feed, right?
August 25, 2026 at 5:06 PM
Shane Monroe
I get your point. It's about finding a balance-enjoying the moment while also capturing it. Both can coexist.