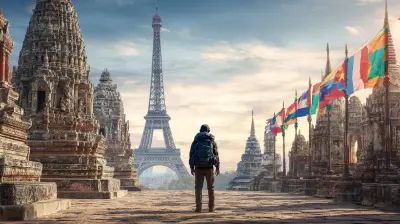
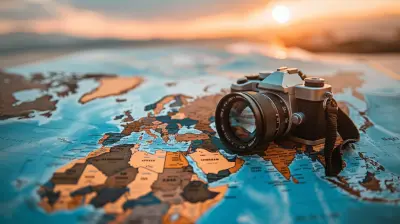
Perfecting Your Post-Processing: Editing Tips for Travel Photos
16 June 2025
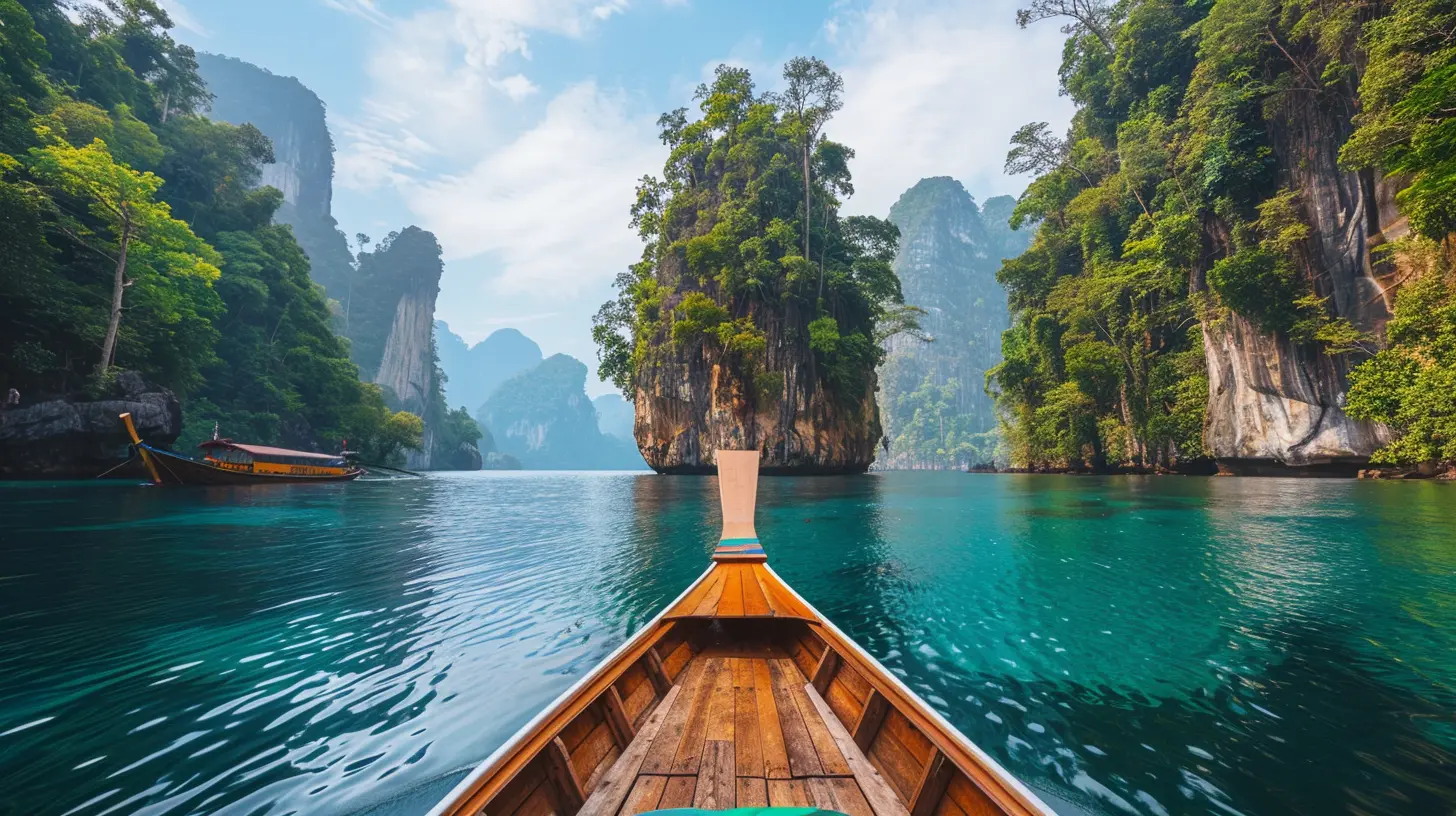
Travel photography is all about capturing the charm of new places, the vibrancy of cultures, and those once-in-a-lifetime moments. But let's be honest—sometimes, your photos don’t do justice to the breathtaking views or the raw emotions of the trip. That’s where post-processing comes in!
Editing your travel photos isn't about faking reality; it's about enhancing what’s already there. Whether you’re a seasoned photographer or just an avid traveler snapping shots on your phone, the right editing techniques can turn good photos into stunning, frame-worthy images.
So, grab your favorite photo editing software, and let’s dive into some essential tips to perfect your post-processing.
1. Start with the Right Editing Software
Before you begin, you need a solid editing tool. There are tons of options out there, but these are some of the most popular:- Adobe Lightroom & Photoshop – The gold standard for photographers. Lightroom is great for quick edits, while Photoshop allows for more advanced retouching.
- Snapseed – A free, user-friendly mobile app with powerful tools and filters.
- VSCO – Perfect for easy color grading and adding cinematic vibes.
- Luminar Neo – Uses AI to simplify complex edits with just a few clicks.
Choose software that fits your skill level and needs. If you’re just starting, Lightroom or Snapseed make a great starting point!
2. Work in RAW Format (If Possible)
If your camera or smartphone allows it, always shoot in RAW mode instead of JPEG. Why?- RAW files hold more details, making it easier to adjust exposure, recover shadows, and tweak colors without losing quality.
- JPEG images compress data, meaning once details are lost, there’s no getting them back.
Don’t worry if you're shooting on a phone—many modern smartphones allow RAW capture through native camera apps or third-party apps like Lightroom Mobile.

3. Nail the White Balance
Ever noticed your photos looking unnaturally warm (yellowish) or too cool (bluish)? That’s where white balance comes in. Adjusting white balance ensures colors appear natural and realistic.- If your photo looks too warm, slide the temperature down to introduce a cooler tone.
- If it looks too cool, increase the temperature slightly for a warmer effect.
Most editing software has an auto white balance feature, but manually adjusting it gives more control over color accuracy.
4. Correct the Exposure and Contrast
Lighting conditions aren’t always perfect when you're shooting, but exposure adjustments can fix that.- If the image is too dark, increase the brightness or move the exposure slider up.
- If it's overexposed (too bright), decrease the exposure or adjust highlights for a balanced look.
Next, tweak the contrast to make your photo pop. Increasing contrast deepens the differences between dark and light areas, adding more life to your image.
5. Adjust Highlights and Shadows
Sometimes, bright skies lose details, or dark areas seem too harsh. That's when the highlights and shadows sliders work their magic.- Reduce highlights to recover blown-out skies or bright areas.
- Increase shadows to reveal details hidden in darker spots.
This step adds depth and richness without affecting the entire image.
6. Enhance Colors Without Overdoing It
Colors bring photos to life, but over-saturating them can make a photo look fake. Here's how to strike a balance:- Vibrance subtly boosts muted colors without affecting already vibrant areas.
- Saturation increases all colors equally, which can sometimes look unnatural.
A little vibrance adjustment can go a long way, especially in landscape and street photography.
7. Fine-Tune with HSL (Hue, Saturation, Luminance)
Want to tweak specific colors? The HSL panel is your best friend.- Hue changes a color’s tone (e.g., shifting blues from teal to deep navy).
- Saturation adjusts how strong or faded a color appears.
- Luminance affects the brightness of a specific color.
This is useful if the greens in your landscape look too yellowish or if the sunset isn’t as rich as you remember.
8. Crop and Straighten for a Stronger Composition
A well-composed photo can make all the difference. If your horizon is slightly tilted or there are distracting elements near the edges, cropping and straightening can fix it.- Use the rule of thirds grid to align your subject.
- Remove unnecessary distractions by cropping excess space.
- Keep an eye on symmetry for architectural shots.
This step refines your image without altering the core essence of the scene.
9. Sharpen, but Don’t Oversharpen
A soft, blurry image can often be improved with a bit of sharpening, but overdoing it leads to an artificial, grainy look.- Increase sharpness slightly to bring out details.
- Use clarity to enhance textures, especially in landscapes.
- Avoid maxing out these sliders, as excessive sharpening can introduce unwanted noise.
10. Reduce Noise for a Cleaner Look
Low-light conditions or high ISO settings can introduce grain (noise) in your photos. Here’s how to clean it up:- Use the noise reduction tool in your editing software.
- Increase luminance noise reduction to smoothen grainy areas.
- Balance it carefully—too much noise reduction can make the image look unnatural and blurry.
11. Add Subtle Vignettes for Depth
A vignette darkens the edges of a photo slightly, drawing focus to the center. It's a simple trick that makes images more immersive.- A slight vignette works well for portraits and landscape shots.
- Keep it subtle—an extreme vignette can look unnatural.
Most editing apps have a vignette tool—it's a small tweak that makes a big difference in emphasizing the subject.
12. Keep Your Edits Consistent
Editing styles vary from warm and dreamy to dark and moody. To maintain a cohesive look across your travel photos:- Use presets or create your own adjustments.
- Make subtle tweaks instead of applying heavy filters randomly.
- Keep a signature style, especially if sharing on Instagram or a travel blog.
A consistent editing style makes your travel album feel more polished and professional.
13. Maintain a Natural Look
No matter how tempting it is to push the sliders to the max, less is often more in travel photography. Aim for an enhanced but natural-looking edit.- Avoid excessive HDR effects—they can make photos look unrealistic.
- Keep skin tones accurate for people shots.
- If it looks too processed, dial back the adjustments.
The goal is to enhance, not distort. Your audience should admire the beauty of the scene, not just the editing.
14. Save and Export with the Right Settings
Once you’re happy with your edit, it's time to save and share!- Use JPEG format for social media or web uploads.
- Select high resolution (300dpi) for printing.
- Resize images appropriately—too large and they slow down websites, too small and they lose quality.
A well-edited photo deserves the best quality, so export settings matter!
Final Thoughts
Editing your travel photos is like adding the final brushstrokes to a masterpiece. It’s not about changing reality but refining those unforgettable moments to match how they felt at the time. With these tips in your editing toolkit, your travel shots will tell richer, more vibrant stories—and who knows, they might even inspire someone else's next adventure!all images in this post were generated using AI tools
Category:
Photography TipsAuthor:

Shane Monroe
Discussion
rate this article
3 comments
Yolanda Forbes
Great tips! Post-processing can truly enhance travel photos, making memories even more vibrant. Can't wait to try these techniques!
June 19, 2025 at 4:53 AM
Shane Monroe
Thank you! I'm glad you found the tips helpful. Enjoy enhancing your travel memories!
Runeveil McLain
This article offers valuable insights on enhancing travel photos. I appreciate the emphasis on balancing creativity with authenticity, ensuring our adventures truly shine through every edit.
June 18, 2025 at 3:37 PM
Shane Monroe
Thank you for your feedback! I'm glad you found the insights helpful in balancing creativity and authenticity in your travel photography. Happy editing!
Viviana Nelson
This article effectively highlights essential post-processing techniques to enhance travel photos. Emphasizing tools like Lightroom and Photoshop, it provides practical tips on adjusting exposure, color balance, and sharpness, ensuring your images beautifully capture your adventures.
June 16, 2025 at 4:32 AM
Shane Monroe
Thank you for your feedback! I'm glad you found the tips on Lightroom and Photoshop helpful for enhancing travel photos. Happy editing!