Travel Photography Essentials: How to Pack Light and Shoot Like a Pro
6 September 2025
When it comes to travel photography, there's a fine line between being prepared and overpacking. You’ve got to figure out how to balance carrying everything you need to capture jaw-dropping shots while avoiding the dreaded overstuffed luggage that bogs you down. Whether you’re a seasoned shutterbug or a newbie hoping to elevate your vacation snaps, I’ve got your back. Let’s dive into the essentials of travel photography, how to pack light, and—most importantly—how to shoot like a pro without breaking a sweat.
Why Travel Photography is Worth It
Travel photography isn’t just about snapping pretty pictures—it's a way to freeze moments in time. That mountain sunrise you hiked two hours to see? That’s a memory you’ll cherish forever. But the real magic lies in sharing those moments. Your photos can inspire others to explore the same breathtaking views or connect with the beauty of different cultures. It's storytelling, only you’re swapping out words for pictures. Cool, right?But here’s the catch: lugging around a suitcase full of gear isn’t exactly fun. And trust me, you don’t want your travel memories to include sore shoulders or broken equipment. The good news? You don’t need to bring your entire studio setup to capture stunning images. All it takes is some smart packing and an eye for creativity.

Packing Light: The Golden Rule for Travel Photographers
Alright, let’s tackle the elephant in the room—how much gear should you actually bring? Packing light as a travel photographer is an art form. The trick is to prioritize versatility without sacrificing quality. Every piece of equipment has to earn its place in your bag.1. Choose the Right Camera
First things first: which camera should you pack? This depends on your skill level and the type of photos you want to capture. If you’re an enthusiast, a mirrorless camera is your best bet. It’s lightweight, compact, and packs a punch in terms of image quality. Brands like Sony, Fujifilm, and Canon have excellent options to choose from.Looking to go even lighter? Your smartphone might surprise you. Modern smartphones come with insanely good cameras, and the best part? You’ve already got it in your pocket. Pair your phone with a lens attachment (like Moment lenses), and you’ll unlock even more creative potential.
If you’re a professional photographer, a DSLR could still be worth the extra weight. But keep in mind that some mirrorless cameras now rival DSLRs in performance, making it easier to downsize.
2. Stick to Versatile Lenses
Now, this is where many photographers go overboard. Do you really need five different lenses for every situation? Probably not. Instead, opt for one or two versatile lenses:- A zoom lens, like a 24-70mm, is perfect for most scenarios—portraits, landscapes, and street photography.
- A prime lens (like a 50mm f/1.8) is lightweight, great for low light, and delivers dreamy bokeh for portraits.
If space is tight, just take one quality lens. It’ll force you to get creative and work with what you have.
3. Don’t Forget the Accessories
Accessories are like the seasoning to your photography setup—too much can overwhelm, but just the right amount makes everything better. Here’s what I’d recommend:- A lightweight tripod or monopod: Essential for long exposures and night photography. Look for travel-specific tripods that fold down small and are made from carbon fiber for extra portability.
- Extra batteries and memory cards: Running out of juice or storage mid-shoot is every photographer’s nightmare. Pack spares, but don’t go overboard—two batteries and a couple of high-capacity memory cards should suffice.
- Polarizing filters: These are a game-changer for cutting through glare and making skies look punchy and vibrant.
- A microfiber cloth: Smudges happen. Keep your lens clean for sharp images.
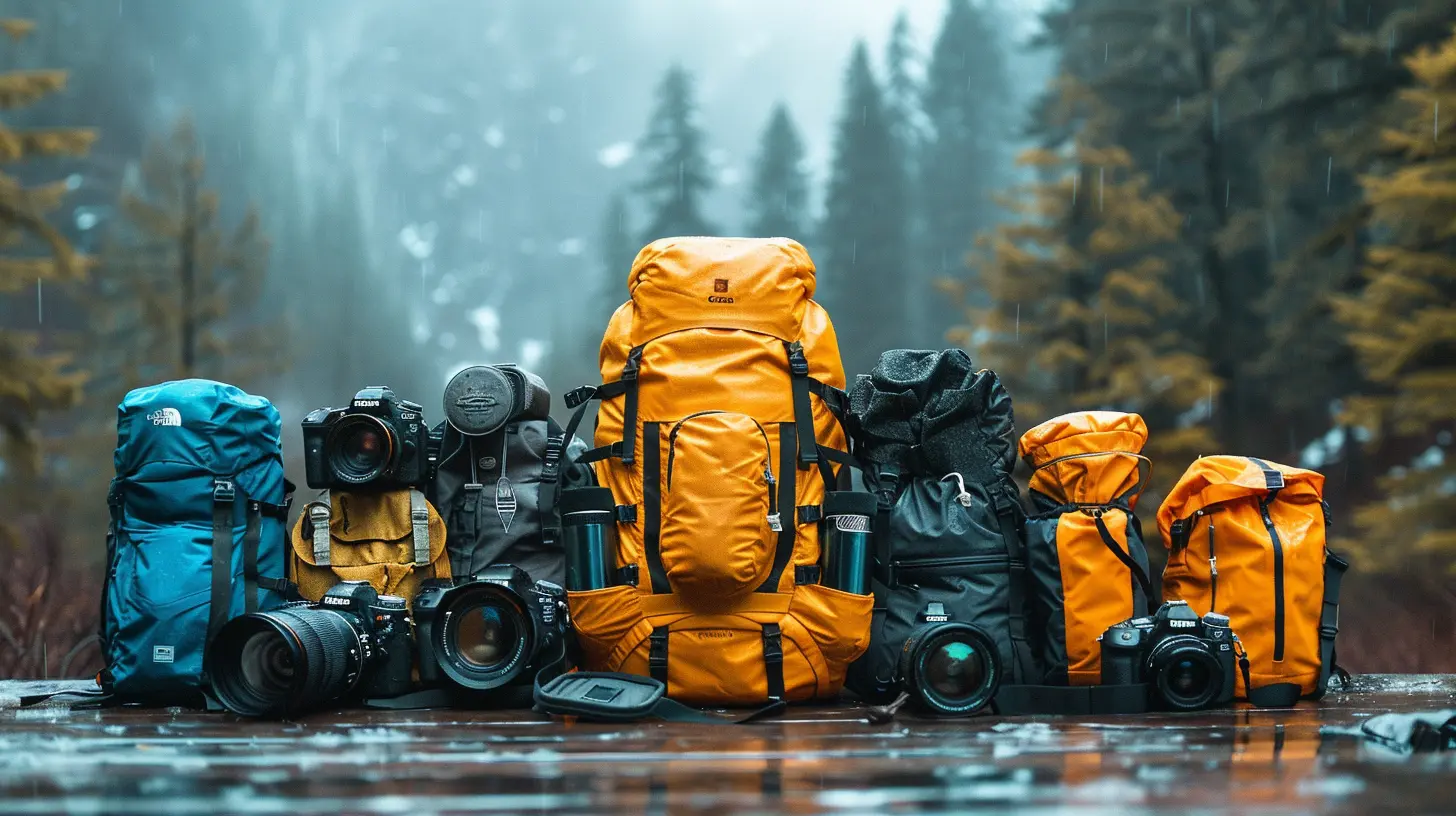
4. The Perfect Camera Bag
A solid camera bag is your best friend. It keeps your gear organized, protected, and within reach. Look for one that’s weatherproof, has padded compartments, and doesn’t scream “expensive camera inside!” Sling bags, backpacks, and messenger-style bags are all great options depending on your comfort level.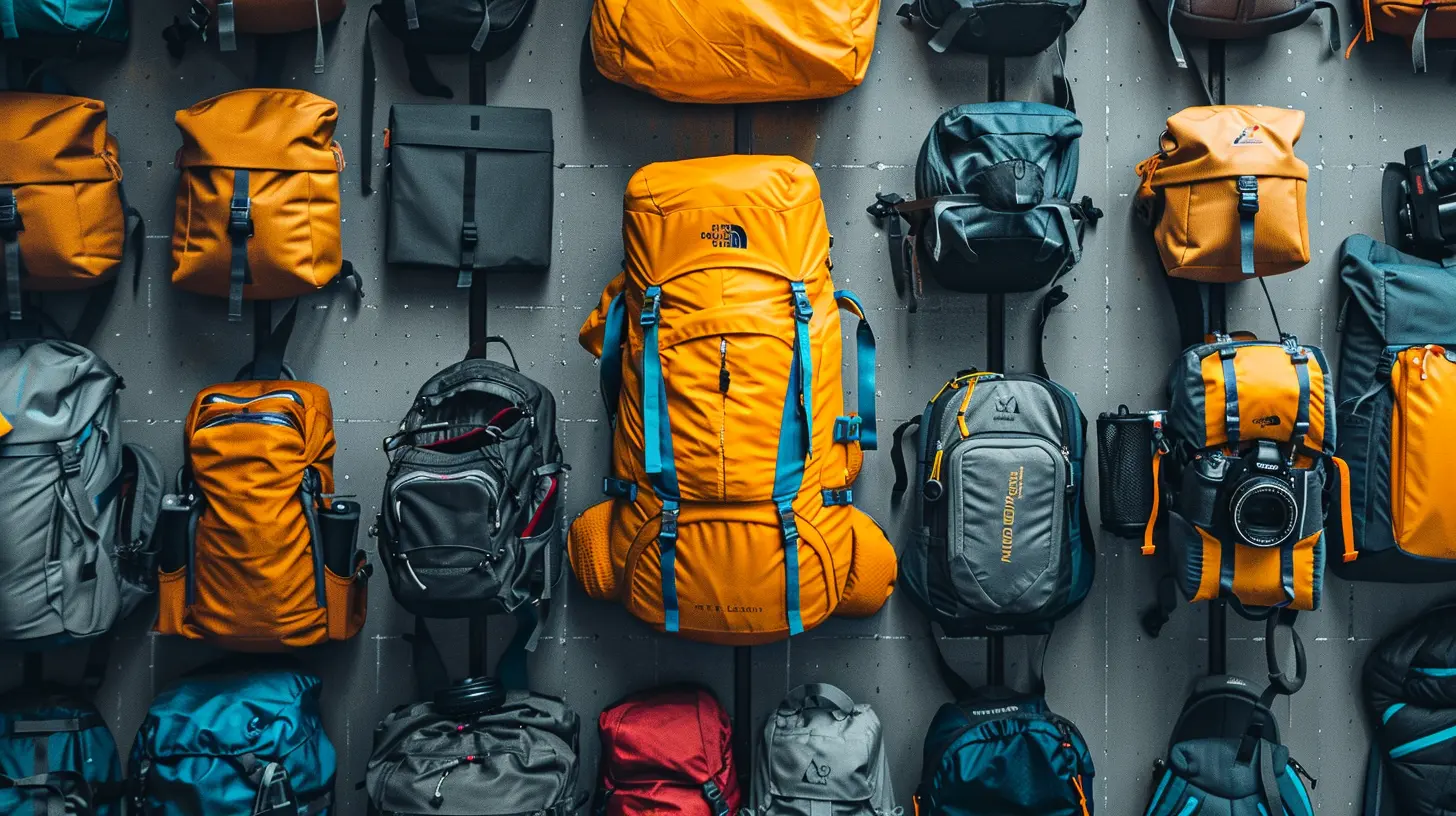
Shooting Like a Pro While Traveling
Alright, your bag is packed, and you’re ready to hit the road. But how do you make the most of your time out there? Shooting like a pro requires a mix of preparation, creativity, and a dash of spontaneity. Here are some tips to help you nail every shot.1. Master the Golden Hours
If you’ve ever heard photographers talk about the “golden hours,” they’re not exaggerating. The hour after sunrise and the hour before sunset are pure magic. The lighting is soft, warm, and flattering for just about any subject. Plus, you’ll avoid the harsh midday shadows that can ruin an otherwise great shot.2. Scout Your Locations
Before you even touch your camera, take some time to explore your surroundings. Walk around, soak it in, and look for interesting angles or compositions. Sometimes the best shots come from spots you wouldn’t expect—climbing a hill, crouching low, or even shooting through interesting foreground elements like leaves or doorways.3. Tell a Story
Great travel photos aren’t just pretty—they tell a story. Think about what you want to convey through your images. Are you capturing the chaos of a bustling market? The tranquility of a serene lake? Look for details that add depth to your shots, like people interacting, local crafts, or even the texture of cobblestone streets.4. Keep an Eye on Composition
If there’s one thing that can make or break a photo, it’s composition. Use techniques like the rule of thirds, leading lines, and symmetry to create visually pleasing images. Don’t be afraid to break the rules, though! Sometimes, the most striking shots come from unconventional framing.5. Play with Light and Shadows
Light is your best friend (or worst enemy) in photography. Use it to your advantage by experimenting with how it interacts with your subjects. Backlighting can create dramatic silhouettes, while side lighting emphasizes texture. Don’t shy away from shadows—they can add mood and mystery to your shots.6. Interact with Locals
Want to capture authentic, meaningful portraits? Strike up a conversation with locals. Not only will this make them more comfortable in front of the camera, but you’ll also gain insight into the culture and traditions that make a place unique.7. Edit Like a Pro
Editing is where your photos truly come to life. Apps like Lightroom Mobile make it easy to tweak your images on the go. Adjust the brightness, contrast, and saturation to match the mood you’re going for. Just don’t go overboard—sometimes less is more.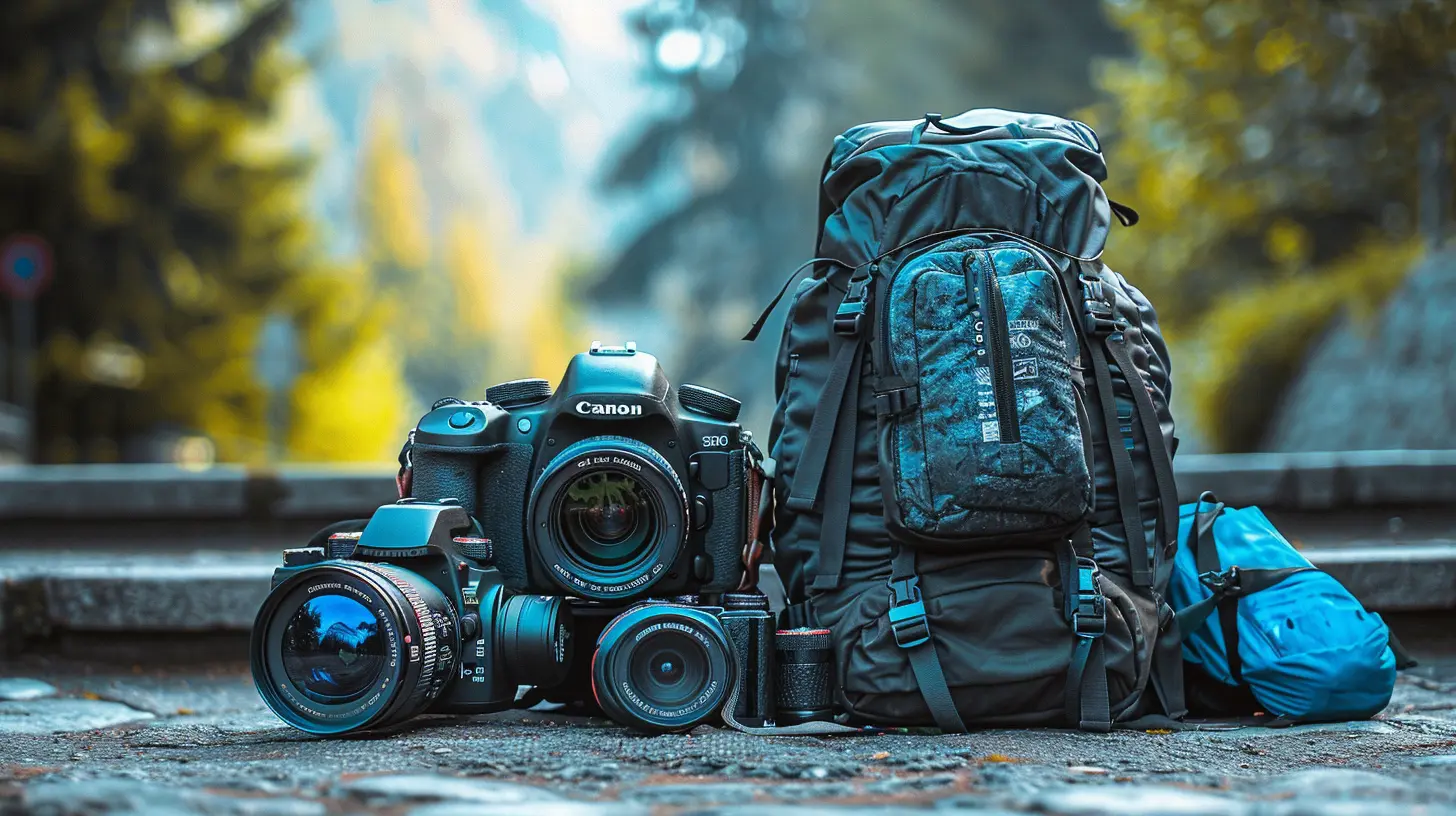
Pro Tips for Traveling Light and Staying Flexible
- Carry a multipurpose camera strap: A good strap can double as a neck strap, shoulder strap, or wrist strap.- Opt for a compact backup camera: Something like a GoPro or an action camera is great for adventurous situations where you don’t want to risk your main camera.
- Limit your tech: Don’t pack unnecessary gadgets like external monitors or bulky hard drives unless you absolutely need them.
Final Thoughts
Travel photography is about more than just taking photos—it’s about experiencing the world and capturing its beauty in a way only you can. By packing light and focusing on the essentials, you’ll not only save your back but also free up mental space to get creative. So grab your gear, book that plane ticket, and start telling your story one frame at a time. Who knows? Your next adventure might just lead to your best shot yet.all images in this post were generated using AI tools
Category:
Photography TipsAuthor:

Shane Monroe
Discussion
rate this article
2 comments
Rylan Henson
Great tips for cutting weight without sacrificing quality. One suggestion: if you only bring one lens, make it a versatile 24-70mm f/2.8. It covers wide landscapes and tight portraits perfectly.
April 30, 2026 at 4:38 AM
Shane Monroe
Thanks for the suggestion! The 24-70mm f/2.8 is definitely a smart choice for versatility.
Juliana Riley
Pack light, shoot right, avoid lens flare!
September 21, 2025 at 4:04 PM
Shane Monroe
Thanks for the tips! Keeping it simple is key for great travel photography!