How to Photograph Waterfalls for Stunning Results
27 April 2025
Waterfalls are nature’s poetry in motion. They cascade down rocky cliffs, creating mesmerizing scenes that demand to be captured. But taking a breathtaking waterfall photo isn't as easy as just pointing your camera and clicking. If you've ever ended up with overexposed, blurry, or just plain meh shots, you're not alone.
Worry not, fellow adventurer! This guide will take you step by step through the process of capturing gorgeous waterfall photos that will leave people in awe (and maybe a little jealous). Get your gear ready—let’s dive in! 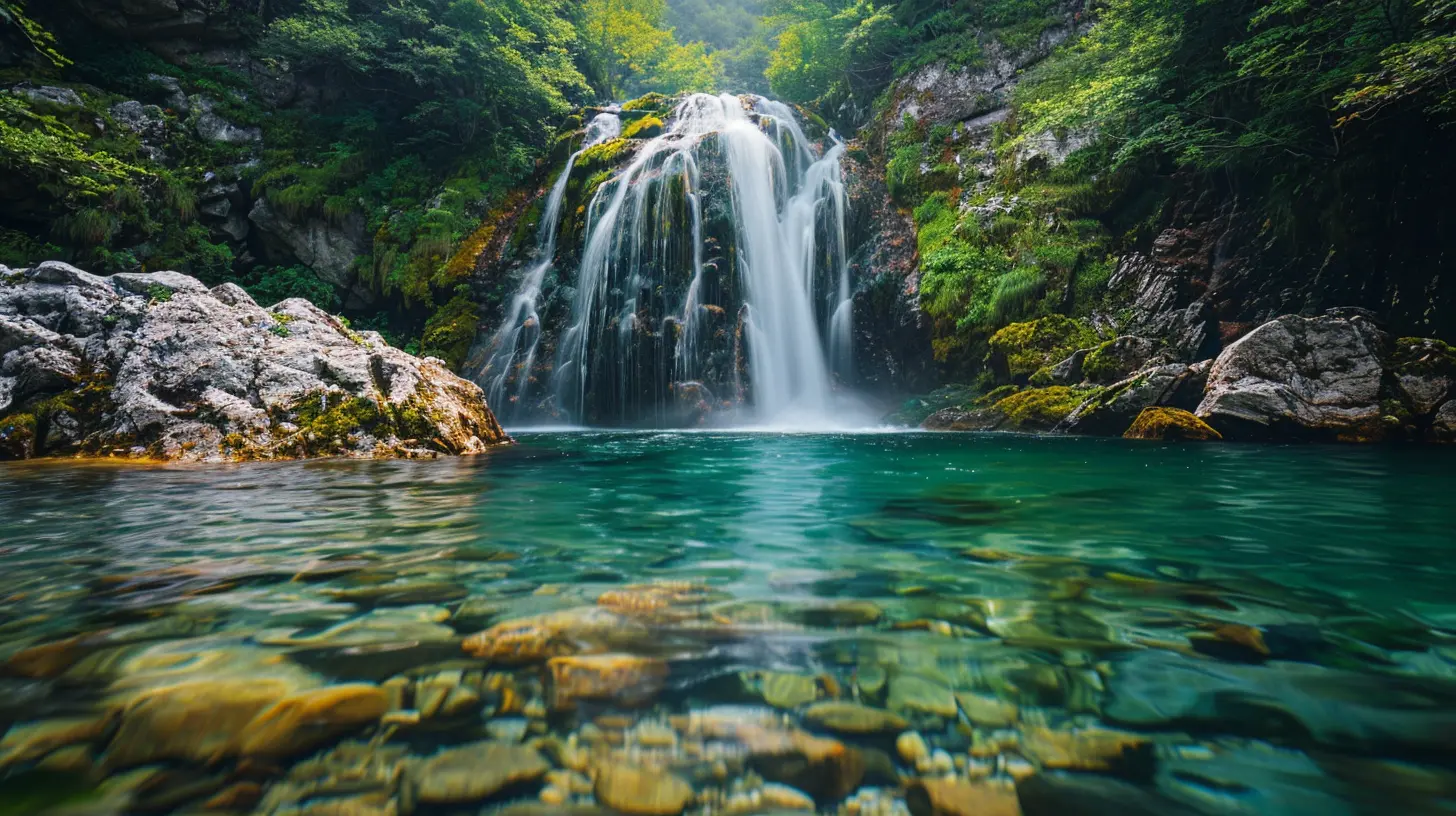
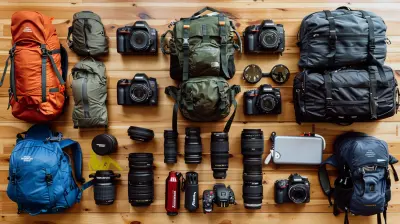
1. The Right Gear Makes a Huge Difference
You don’t need a high-end, Hollywood-style setup, but having the right tools will make your waterfall shots pop.📷 Camera & Lenses
- A DSLR or mirrorless camera gives you the most control (though some high-end smartphones do a decent job).- A wide-angle lens (16mm–35mm) is great for capturing the entire scene.
- A telephoto lens helps if you want to zoom in on details like the water splashing against rocks.
🎛 Tripod – Your Best Friend
Waterfalls look best when captured with long exposure (more on that later). A sturdy tripod is a must to keep your shots crisp and shake-free.🛡 Filters – The Secret Weapon
- Polarizing filter: Reduces glare and enhances colors.- Neutral density (ND) filter: Helps control exposure by limiting light, allowing for silky smooth water effects.
2. Timing is Everything
A waterfall at high noon? Meh. A waterfall bathed in golden light during sunrise or sunset? Chef’s kiss!🌅 Best Time to Shoot
- Golden Hour (early morning or late afternoon): Soft, warm light enhances the scene.- Overcast Days: Clouds act like a giant softbox, reducing harsh shadows and preventing blown-out skies.
- After Rain: The flow is stronger, and the surrounding foliage looks lush and refreshed.
✋ Avoid Midday Sun
Bright sunlight creates harsh contrasts, making photos look flat and unappealing. If you must shoot at midday, an ND filter can help reduce the brightness.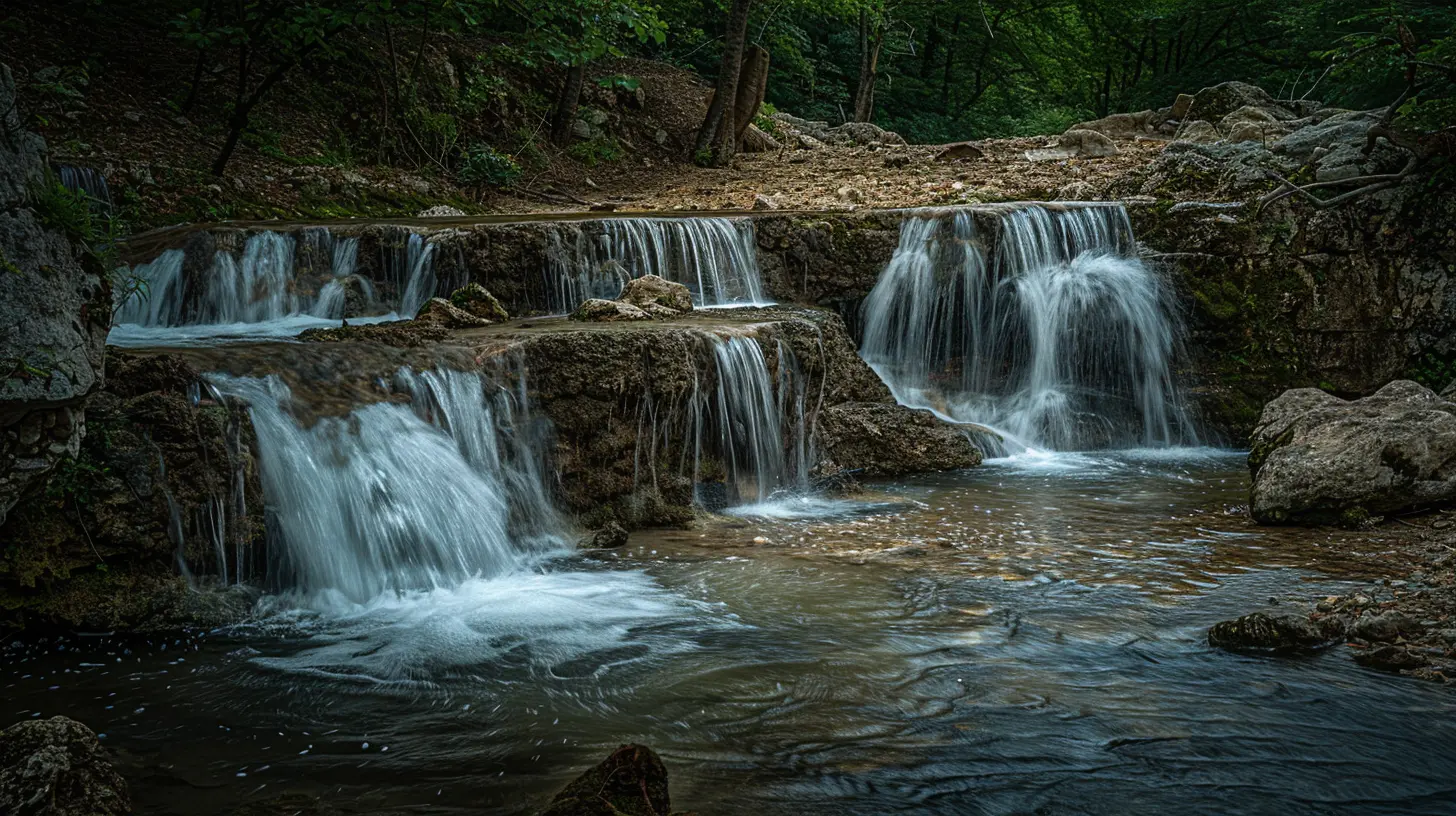
3. Master Your Camera Settings
Now that you have the right gear and the best timing, let’s get technical (but in a fun way, I promise).📏 Shutter Speed – The Magic Ingredient
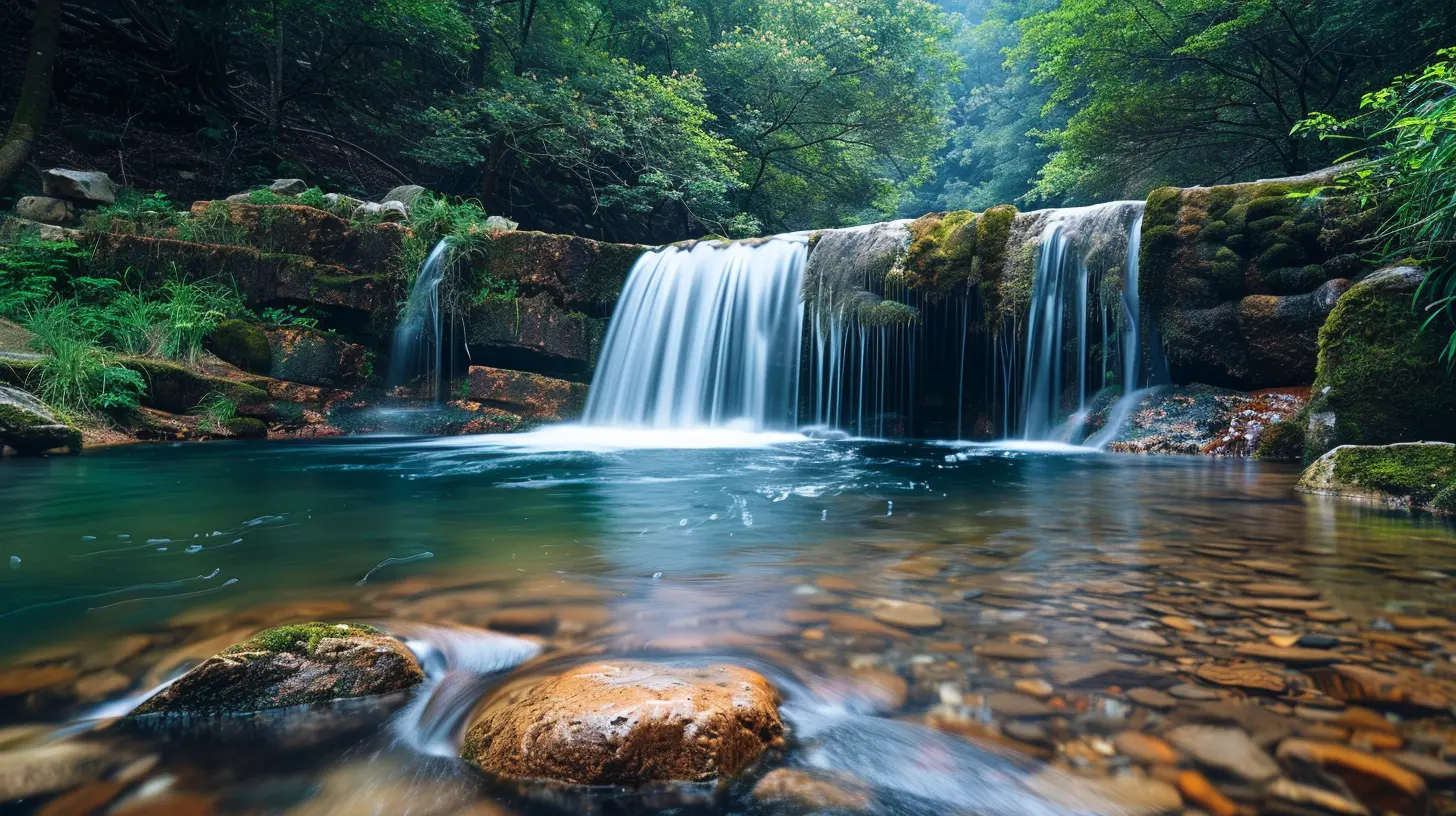
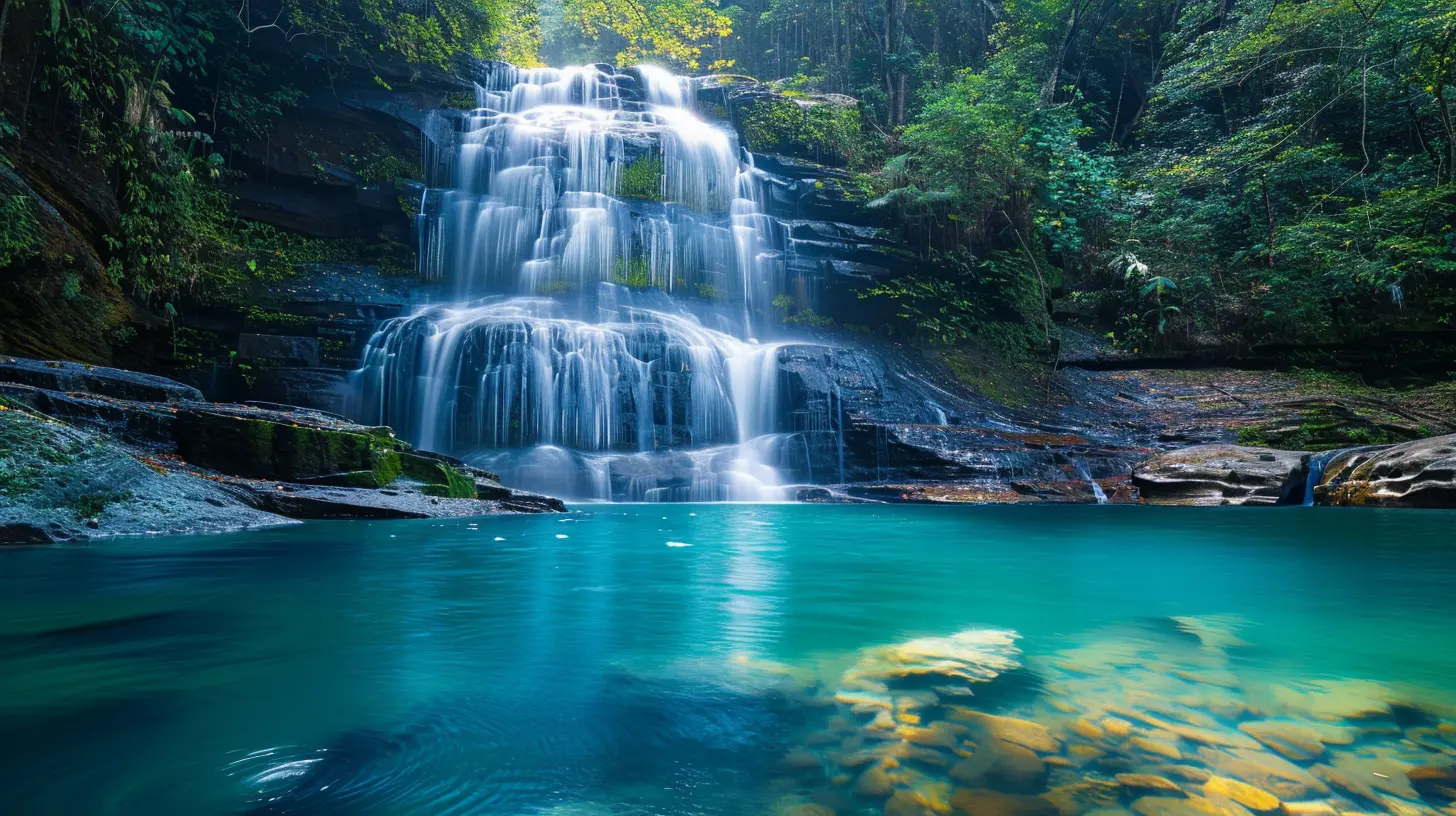
This is where the magic happens. Want silky-smooth water? A long shutter speed is the key.- Silky Smooth Effect: Use a slow shutter speed (1/4 sec to 2 seconds).
- Frozen Water Drops: Use a fast shutter speed (1/500 sec or faster).
🔎 Aperture – Controlling Depth of Field
- For a sharp landscape: Use a small aperture (f/8 – f/16).- For artistic depth: Use a wider aperture (f/2.8 – f/5.6) to blur the background.
🎚 ISO – Keep It Low
Since longer exposures let in more light, keep your ISO low (ISO 100-200) to avoid grainy shots.🎭 Focus Like a Pro
- Use manual focus if your camera struggles to lock onto flowing water.- Focus about 1/3 into the frame for maximum sharpness in landscape shots.
4. Composition – Make Your Photos Stand Out
Having the right settings is half the battle; composing your shot is where the art happens.🏞 Rule of Thirds
Imagine dividing your frame into a 3x3 grid. Position the waterfall where the lines intersect to create a balanced, eye-pleasing composition.🛤 Leading Lines
Use natural elements like rivers, rocks, or trees to guide the viewer’s eye toward the waterfall.📐 Frame with Nature
Look for branches, cliffs, or tree trunks to create a natural frame around the waterfall, adding depth.🏔 Capture the Surroundings
Don’t just focus on the waterfall. Capture the environment—mist, mossy rocks, and reflections add to the magic.5. Experiment with Different Perspectives
You don’t want every waterfall photo looking the same, right? Let’s shake things up.🔝 Get High
Find a viewpoint from above to capture the waterfall from a fresh perspective.⬇️ Go Low
Crouching or lying near the ground can add a dramatic foreground element, making the photo more immersive.🌀 Slow vs. Fast Exposure Comparison
Take two shots: one with a slow shutter speed and another with a fast shutter speed. This shows the contrast between silky water and frozen droplets.6. Post-Processing – Adding the Final Touch
Editing can elevate a good photo into a stunning masterpiece.🎨 Adjust Exposure & Contrast
- Boost shadows slightly to bring out details in darker areas.- Reduce highlights if the water looks too bright.
🌈 Enhance Colors
- Increase vibrance for a richer look.- Adjust white balance to make water appear cool and refreshing.
🍃 Remove Distractions
Use tools like Lightroom’s clone tool to remove unwanted objects like stray branches or tourists.7. Bonus Tips for the Best Waterfall Photos
🌱 Keep Your Gear Dry
Waterfalls spray mist everywhere. A lens cloth and rain cover keep your camera from drowning in excitement.🛤 Scout Locations Beforehand
Use Google Maps or photography apps to find the best angles before heading out.🏃♂️ Be Patient & Take Your Time
Rush and you’ll miss the perfect shot. Take your time, tweak settings, and enjoy the process.Final Thoughts
Photographing waterfalls is part science, part art, and a whole lot of fun. With the right gear, settings, and creative approach, you’ll capture images that truly reflect the beauty of these natural wonders.So grab your camera, hit the trails, and start chasing waterfalls (yes, even if TLC told you not to). You’ll thank yourself later when you see those breathtaking shots hanging on your wall or filling up your Instagram feed.
Happy shooting!
all images in this post were generated using AI tools
Category:
Photography TipsAuthor:

Shane Monroe
Discussion
rate this article
5 comments
Cynthia McClary
This article offers valuable insights for capturing the beauty of waterfalls. I appreciate the emphasis on timing and composition. It's a reminder that patience and practice are key to transforming a simple photo into a stunning masterpiece.
May 8, 2025 at 3:07 PM
Shane Monroe
Thank you for your kind words! I'm glad you found the insights on timing and composition helpful. Patience and practice truly make a difference in photography!
Audrey McGillivray
Master the light, capture beauty!
April 29, 2025 at 2:51 PM
Shane Monroe
Thank you! Mastering light is indeed key to capturing the true beauty of waterfalls. Happy shooting!
Quillan McNab
Use a tripod and shutter speed for optimal waterfall shots.
April 28, 2025 at 2:41 PM
Shane Monroe
Absolutely! A tripod stabilizes your camera, and adjusting the shutter speed helps create that silky smooth water effect. Great tip!
Hesper Wyatt
Nature’s fluid artistry demands patience.
April 27, 2025 at 4:30 PM
Shane Monroe
Absolutely! Patience is key to capturing the perfect moment in nature's ever-changing beauty.
Gisela Coleman
Great tips! I especially love the idea of using a tripod for long exposure shots. It really enhances the smooth flow of the water!
April 27, 2025 at 3:27 AM
Shane Monroe
Thank you! I'm glad you found the tripod tip helpful—it's essential for capturing that beautiful smooth water effect!